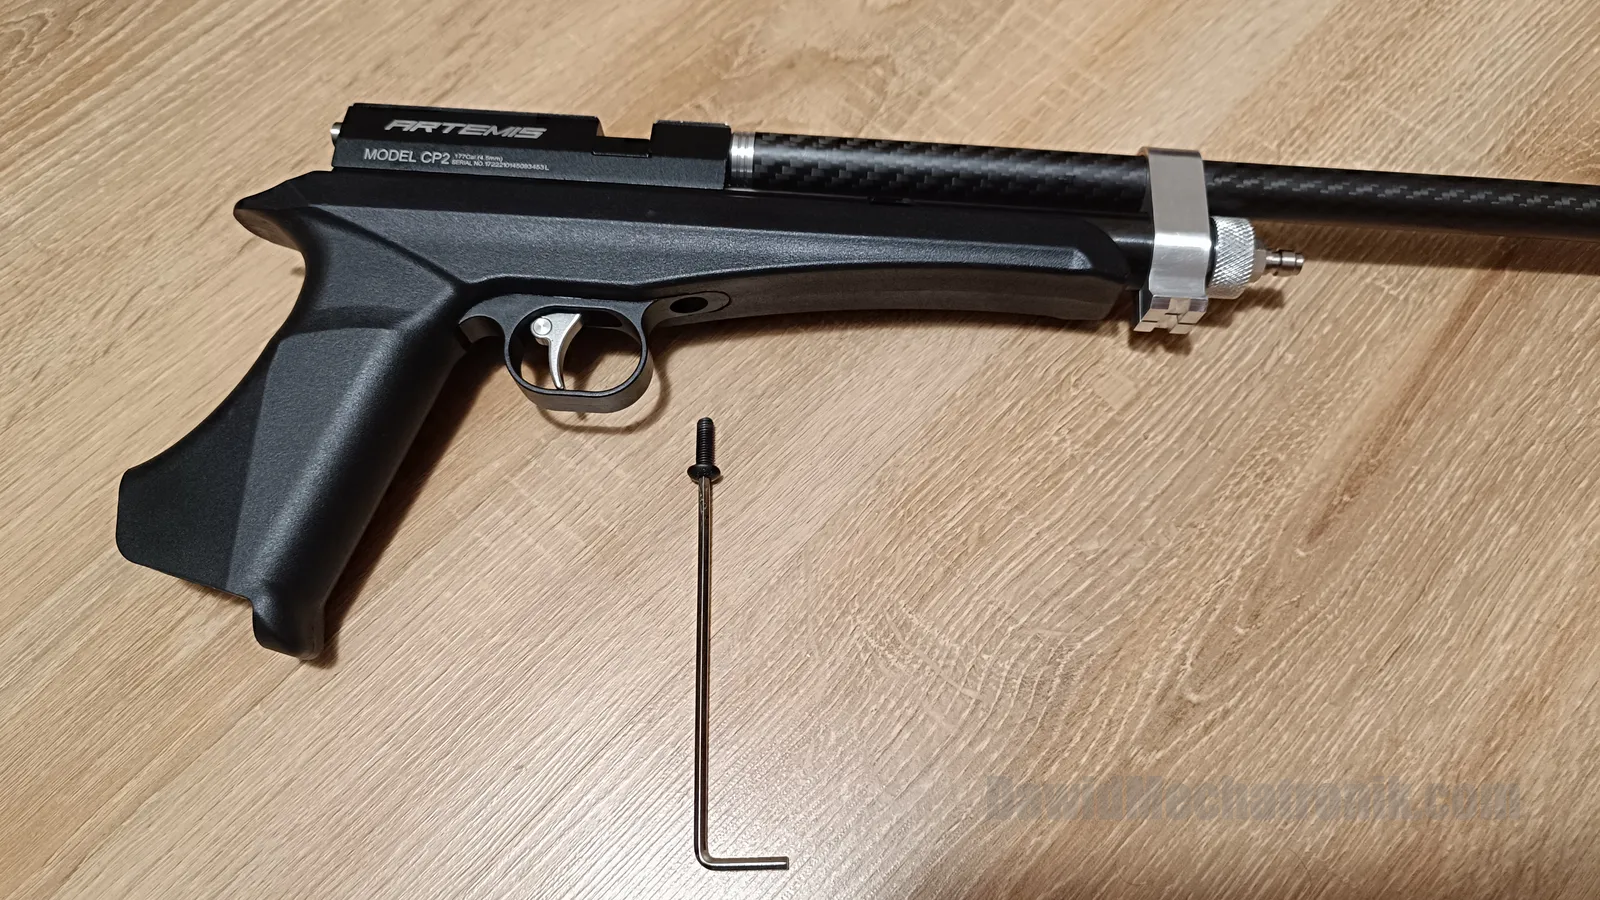
Softer trigger upgrade step-by-step instruction
Soft trigger mod with longer adjuster screws for first and second travel adjusting.
- Factory trigger: 1st stage ~440g (1lbs), 2nd stage ~1300g (2,8lbs).
- Soft spring mod: 1st stage ~200g (0,4lbs), 2nd stage ~600g (1,3lbs).
This is instruction for an item sold by me on eBay
Soft trigger mod
Soft trigger mod and longer adjuster screws.
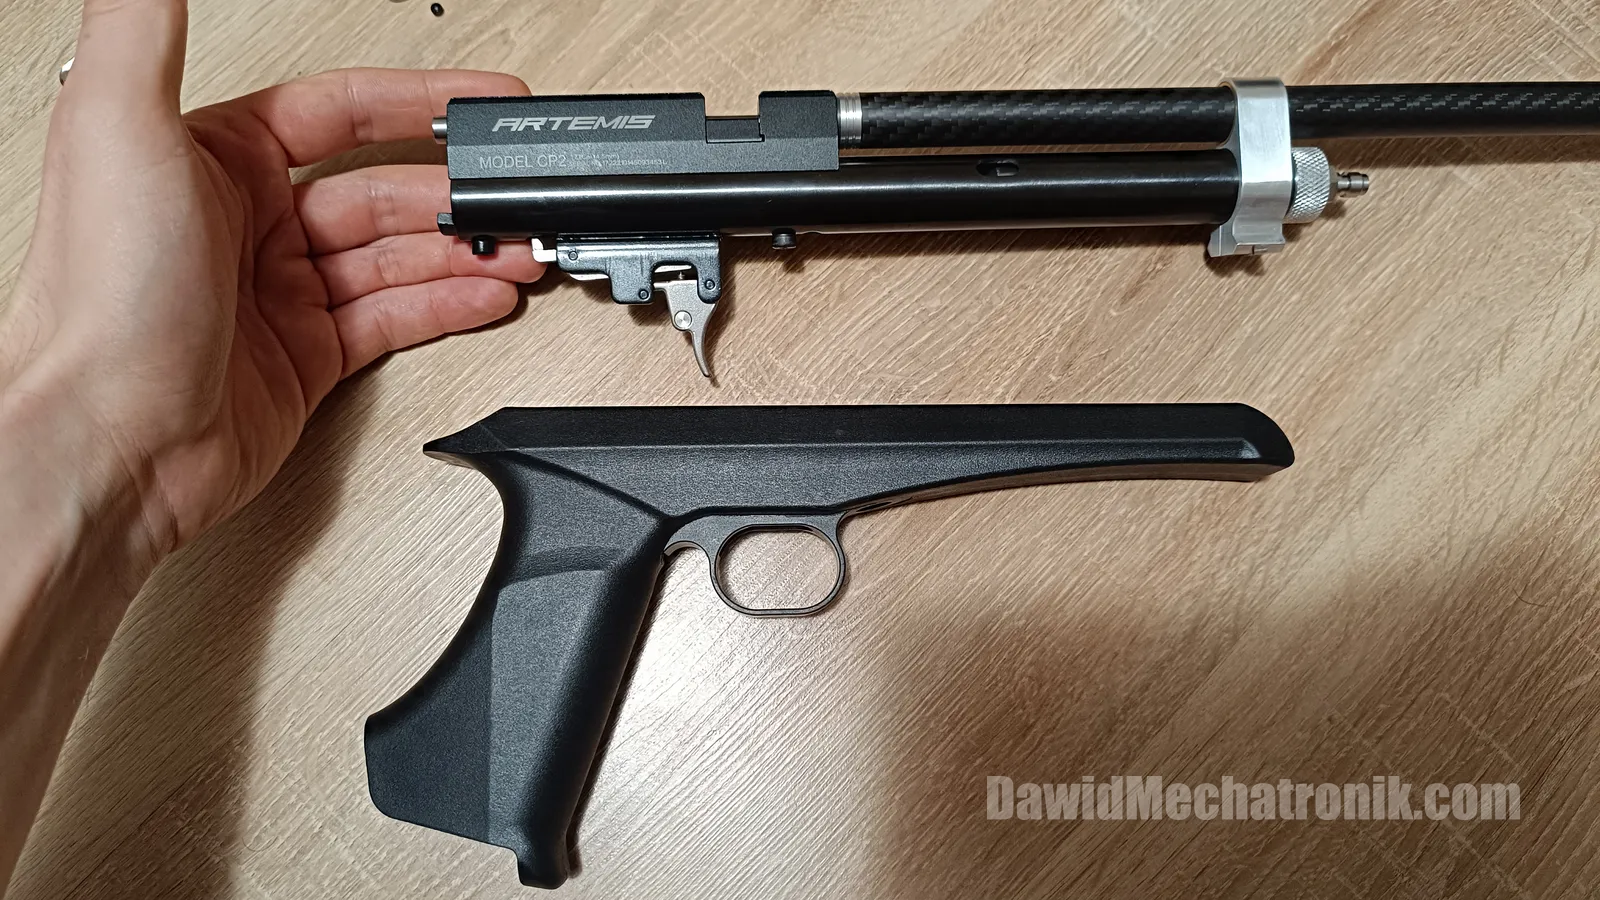
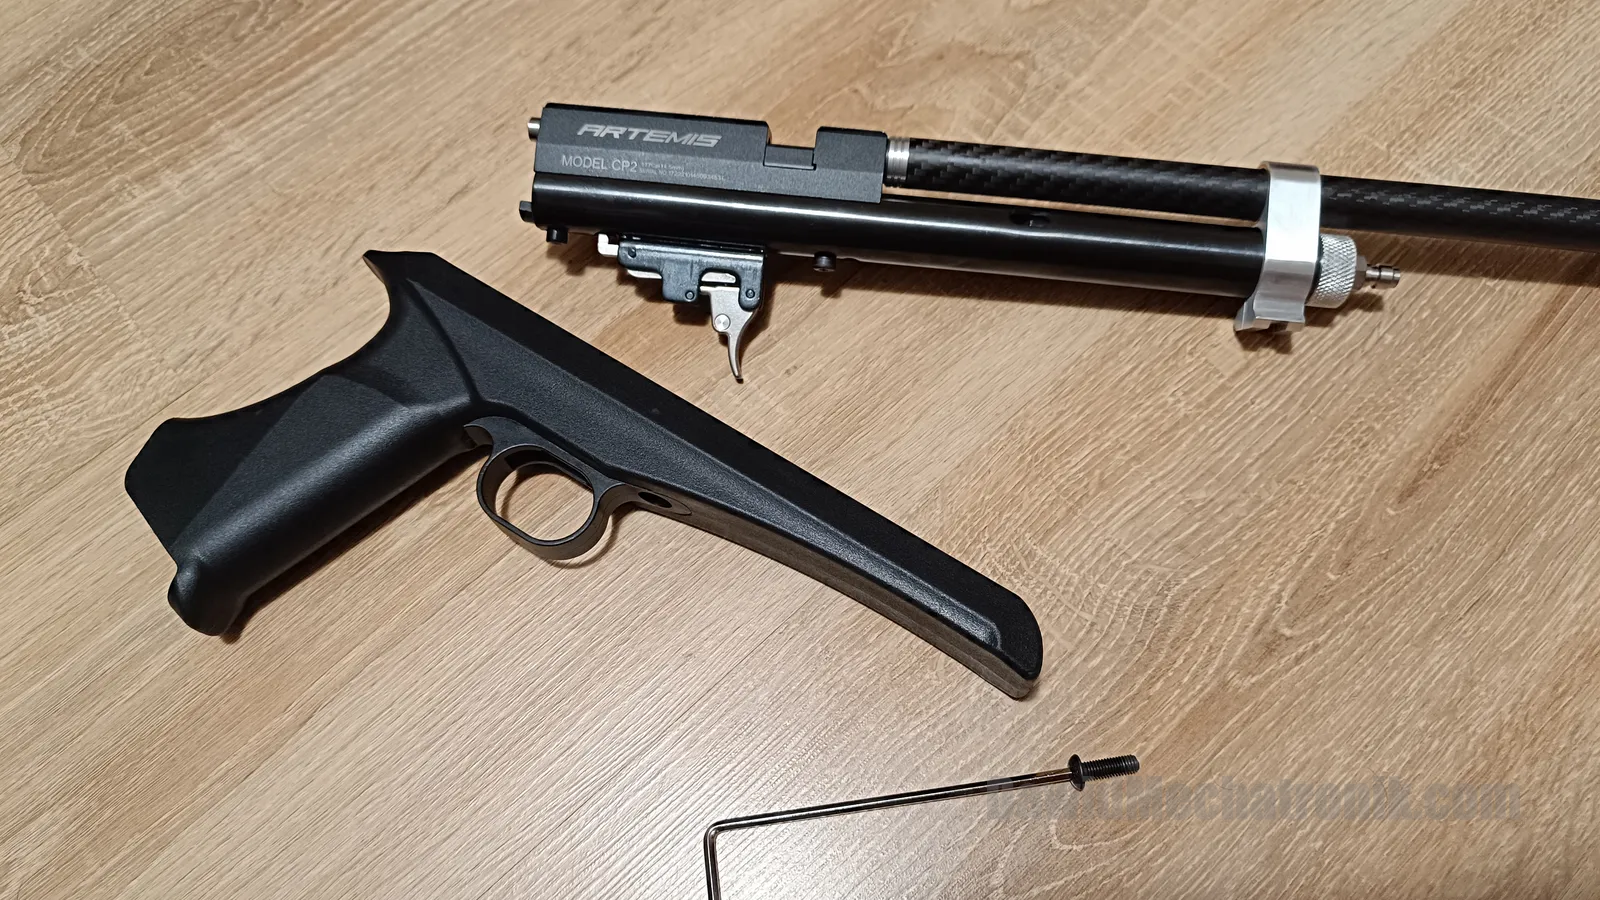
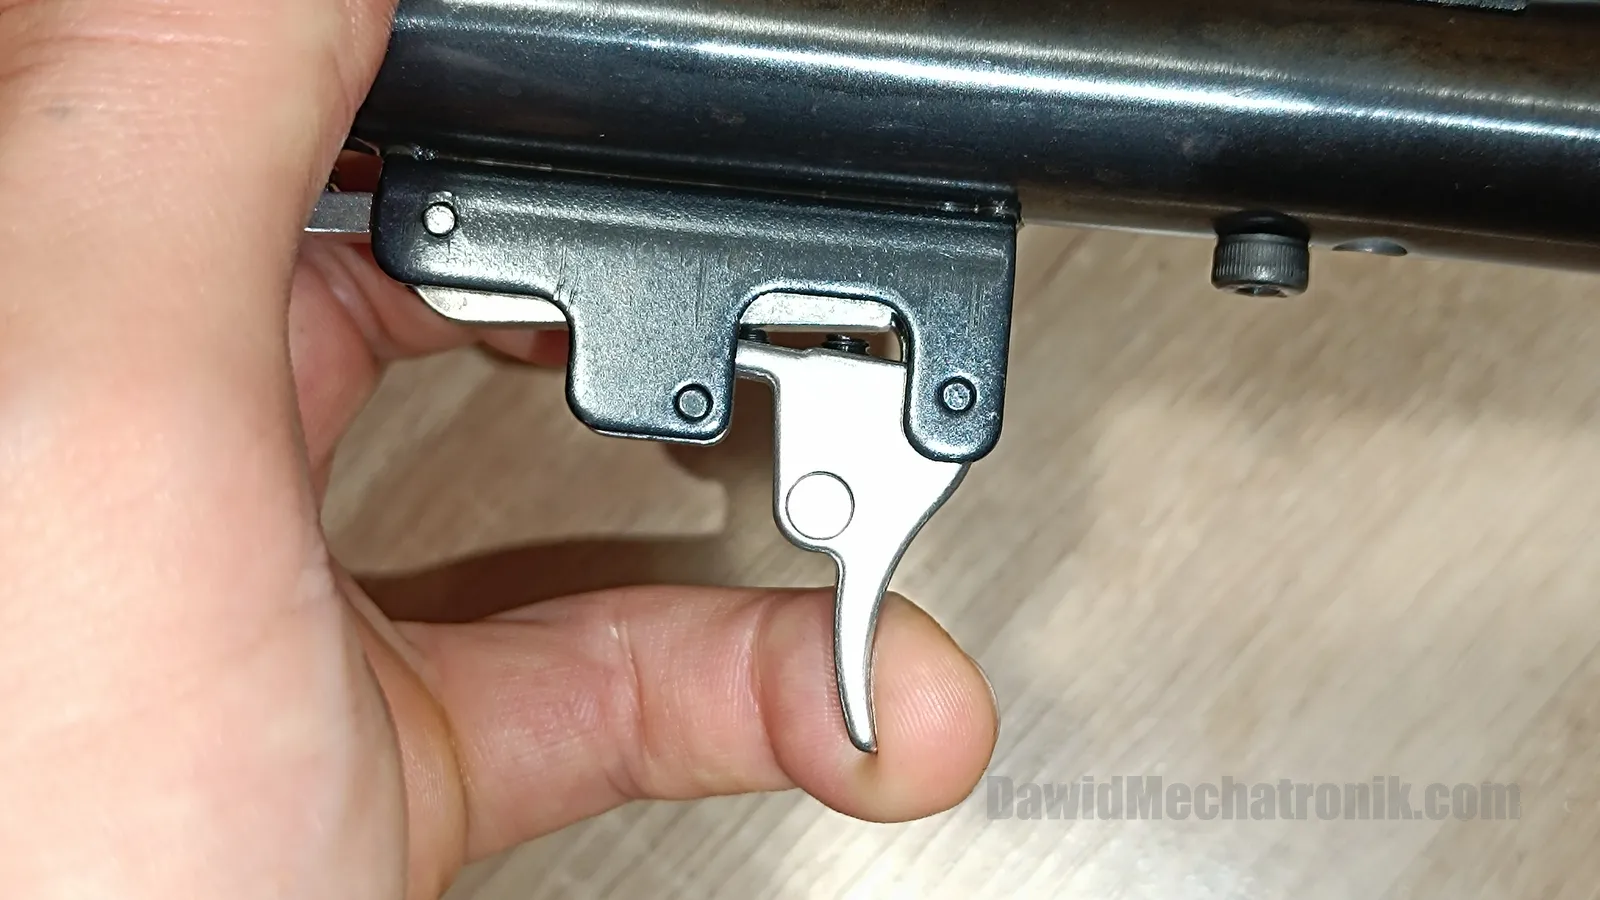
Disassembly
Remove grip by unscrewing one bolt.

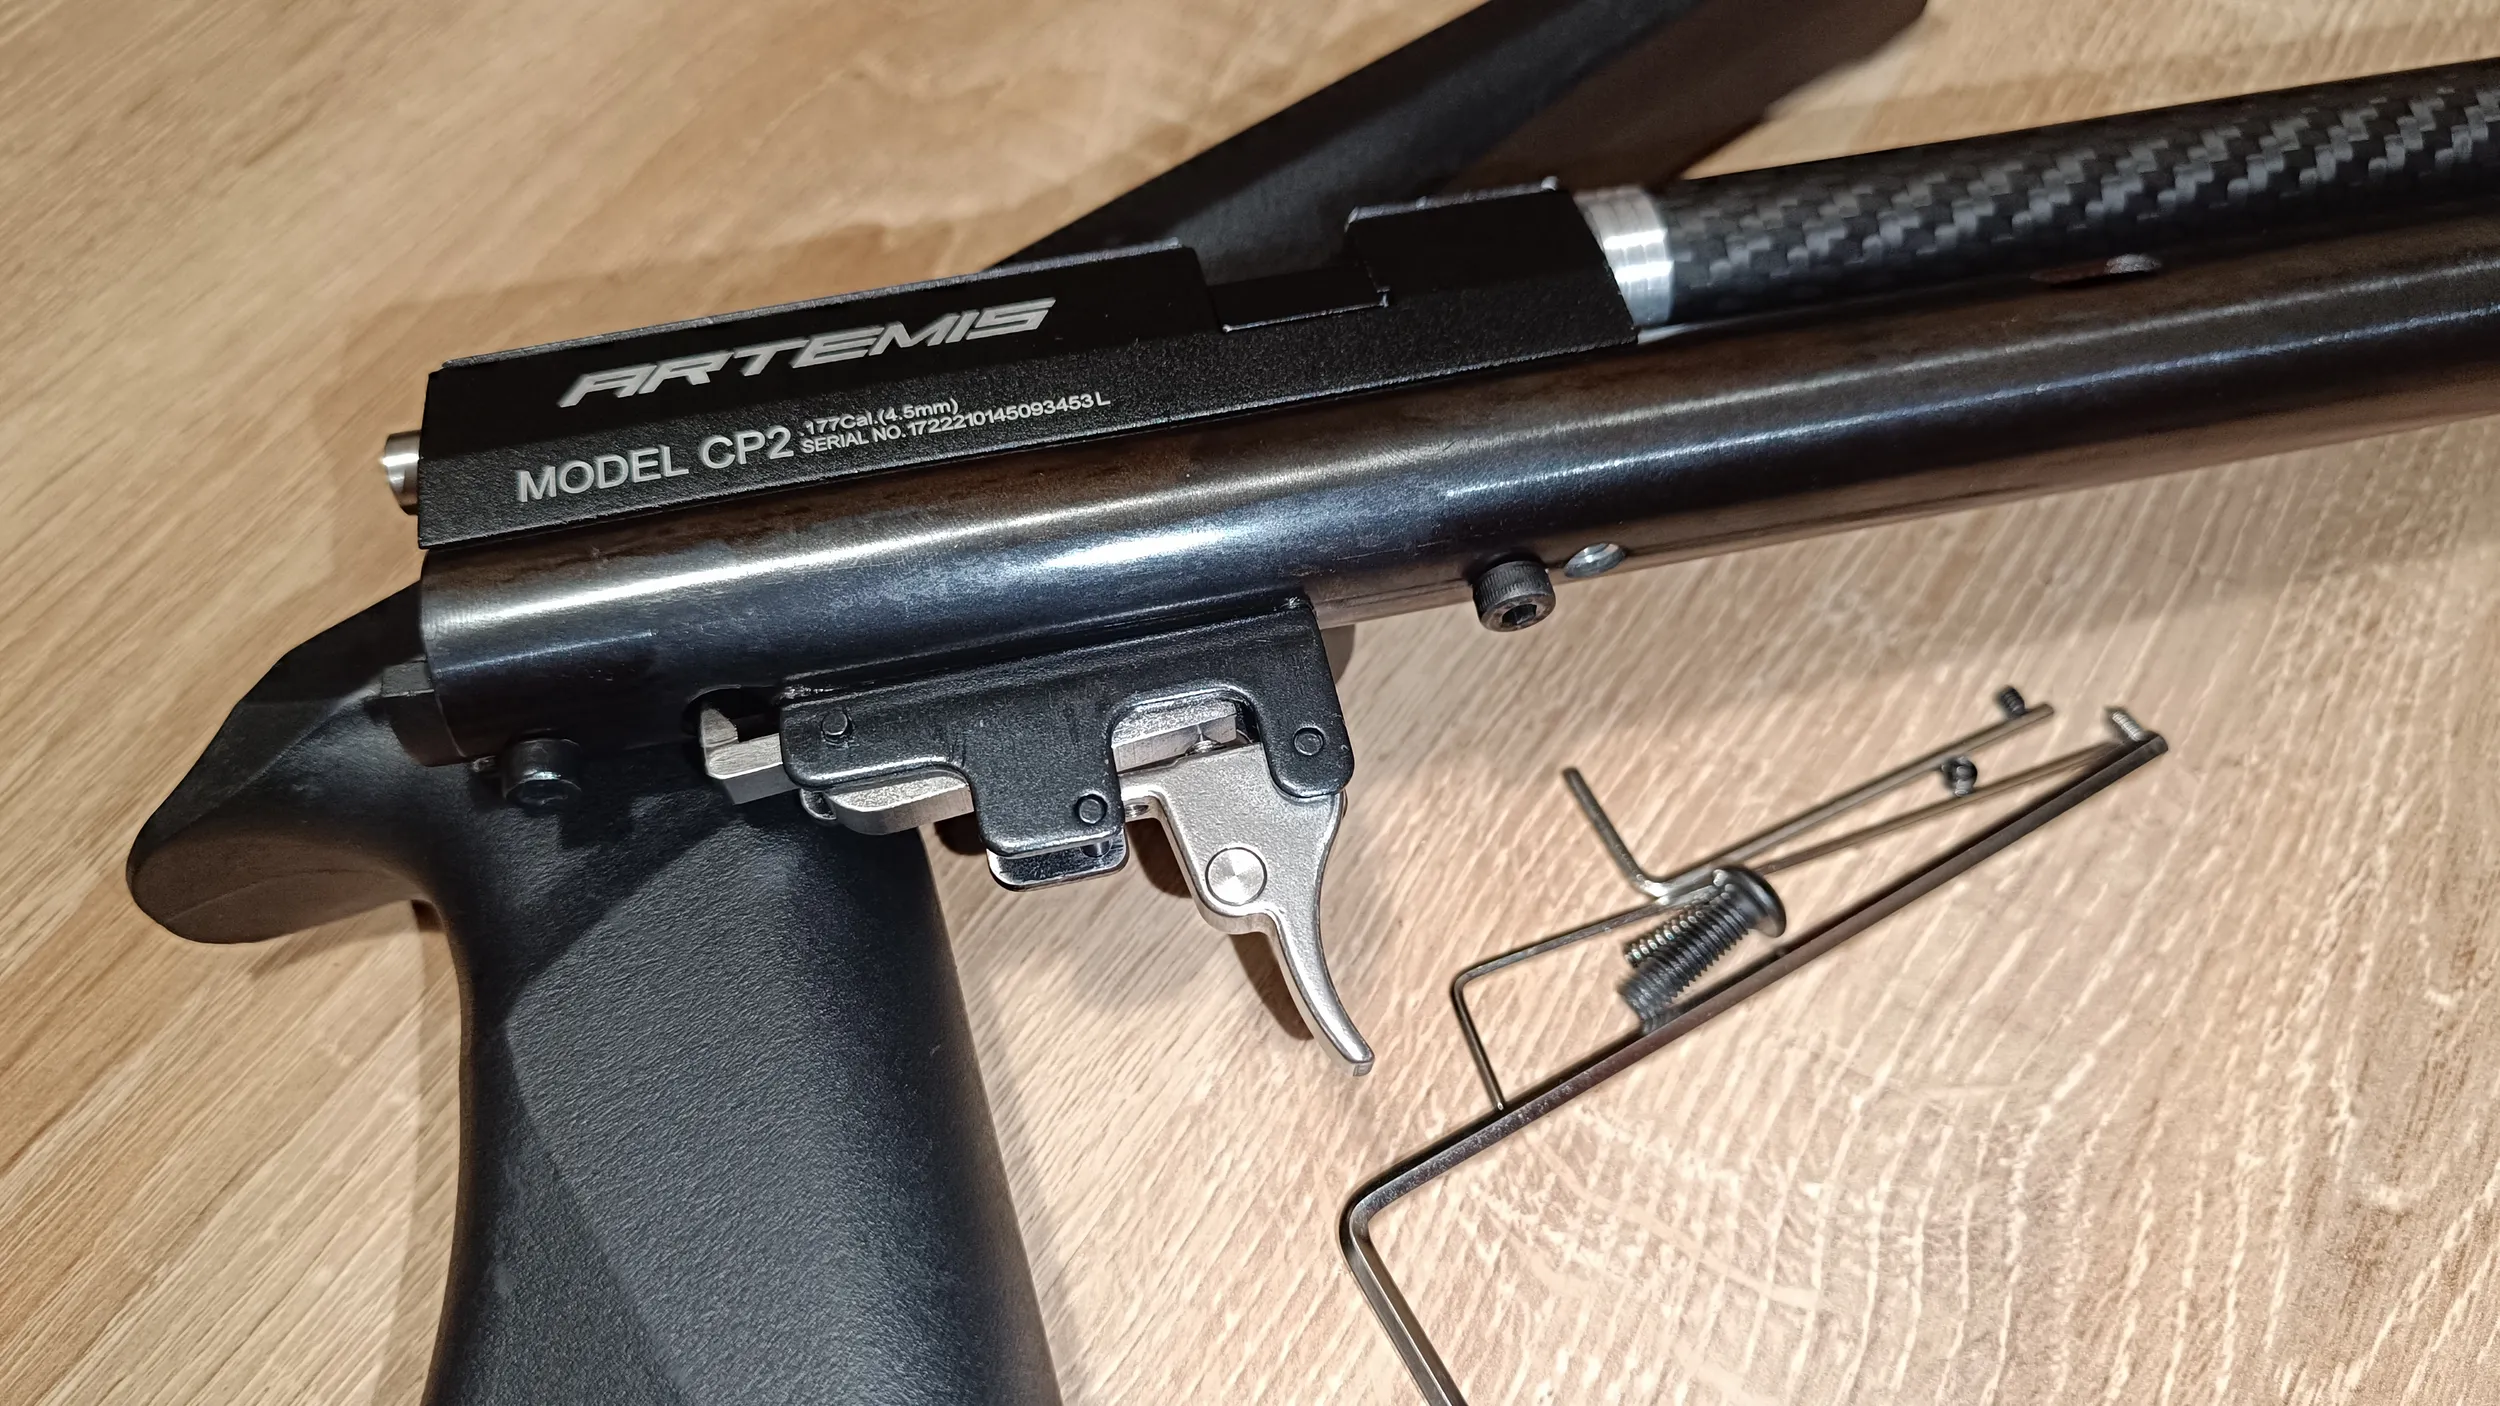
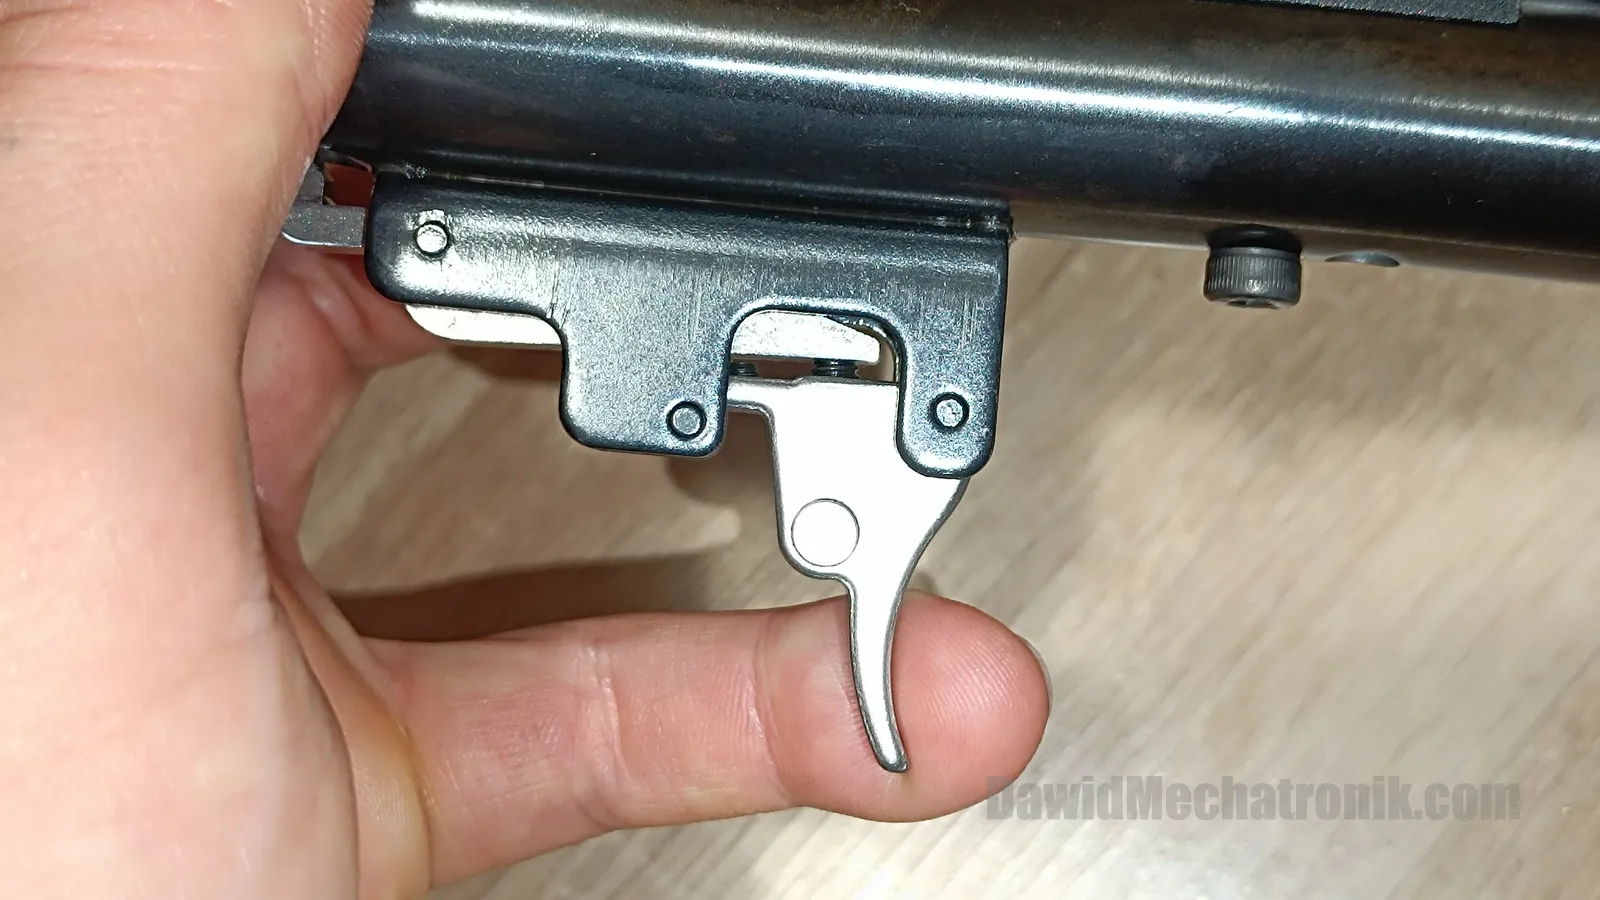
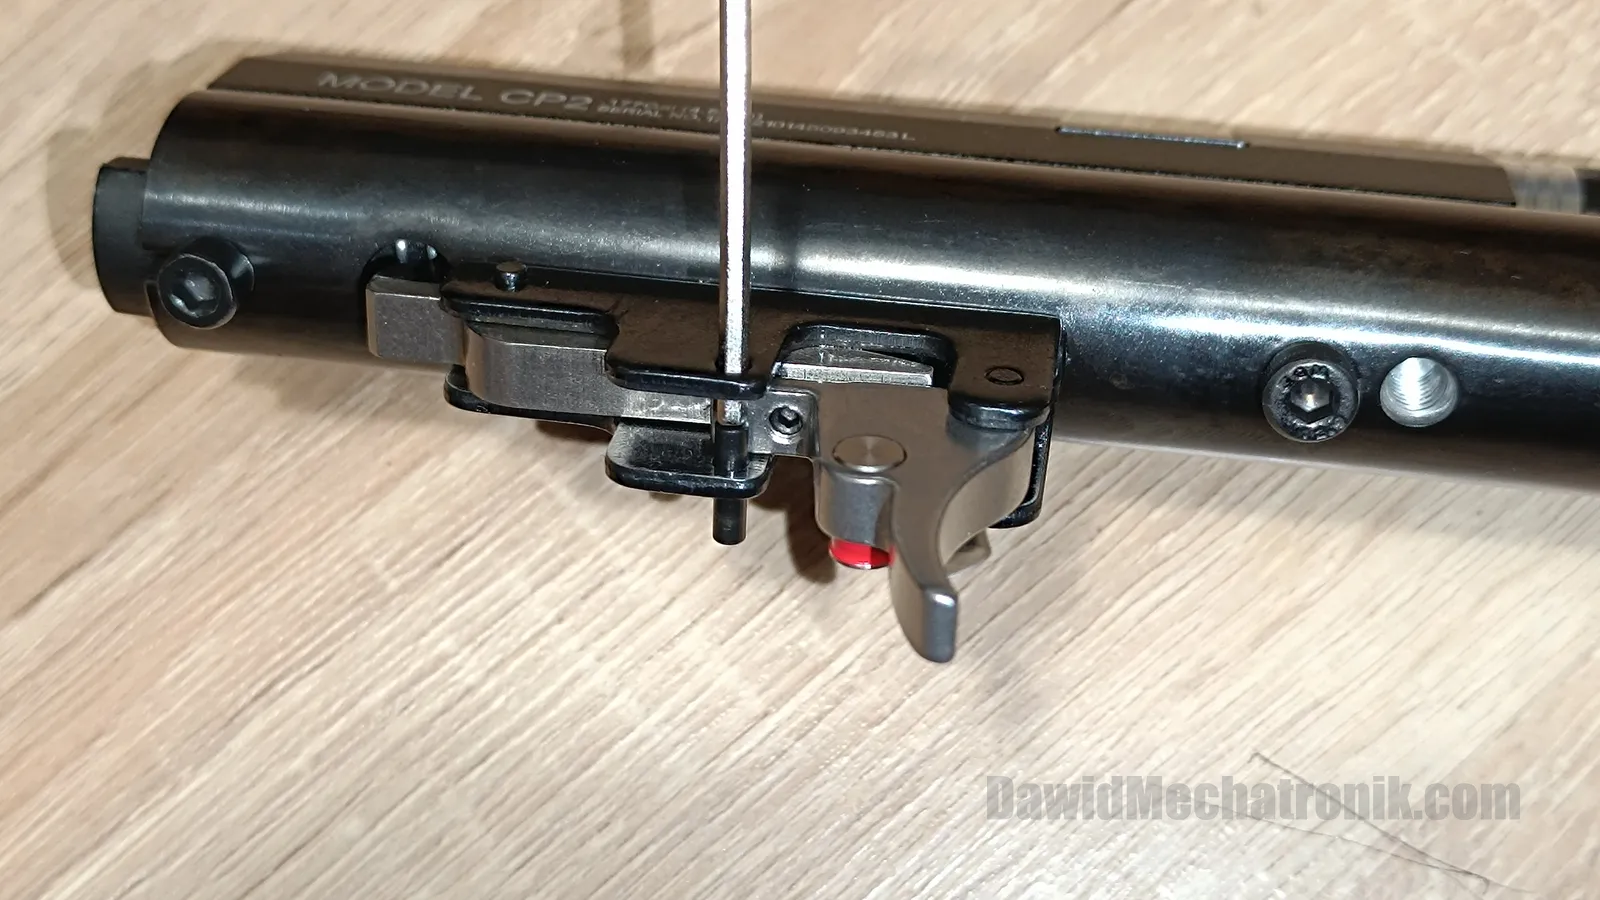
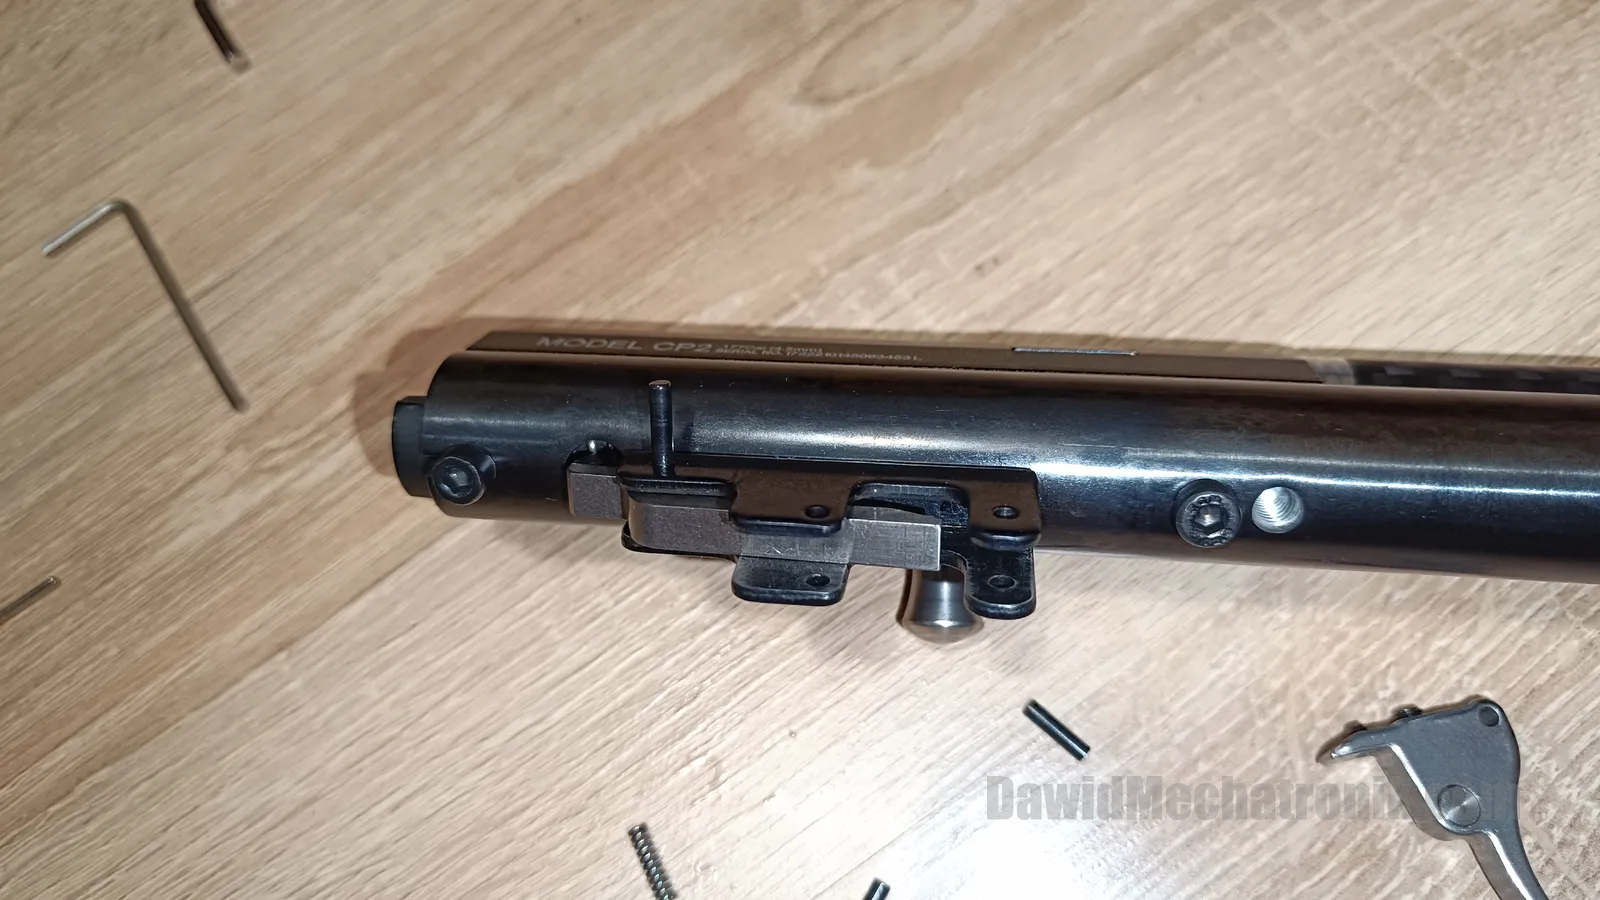
Factory trigger operation
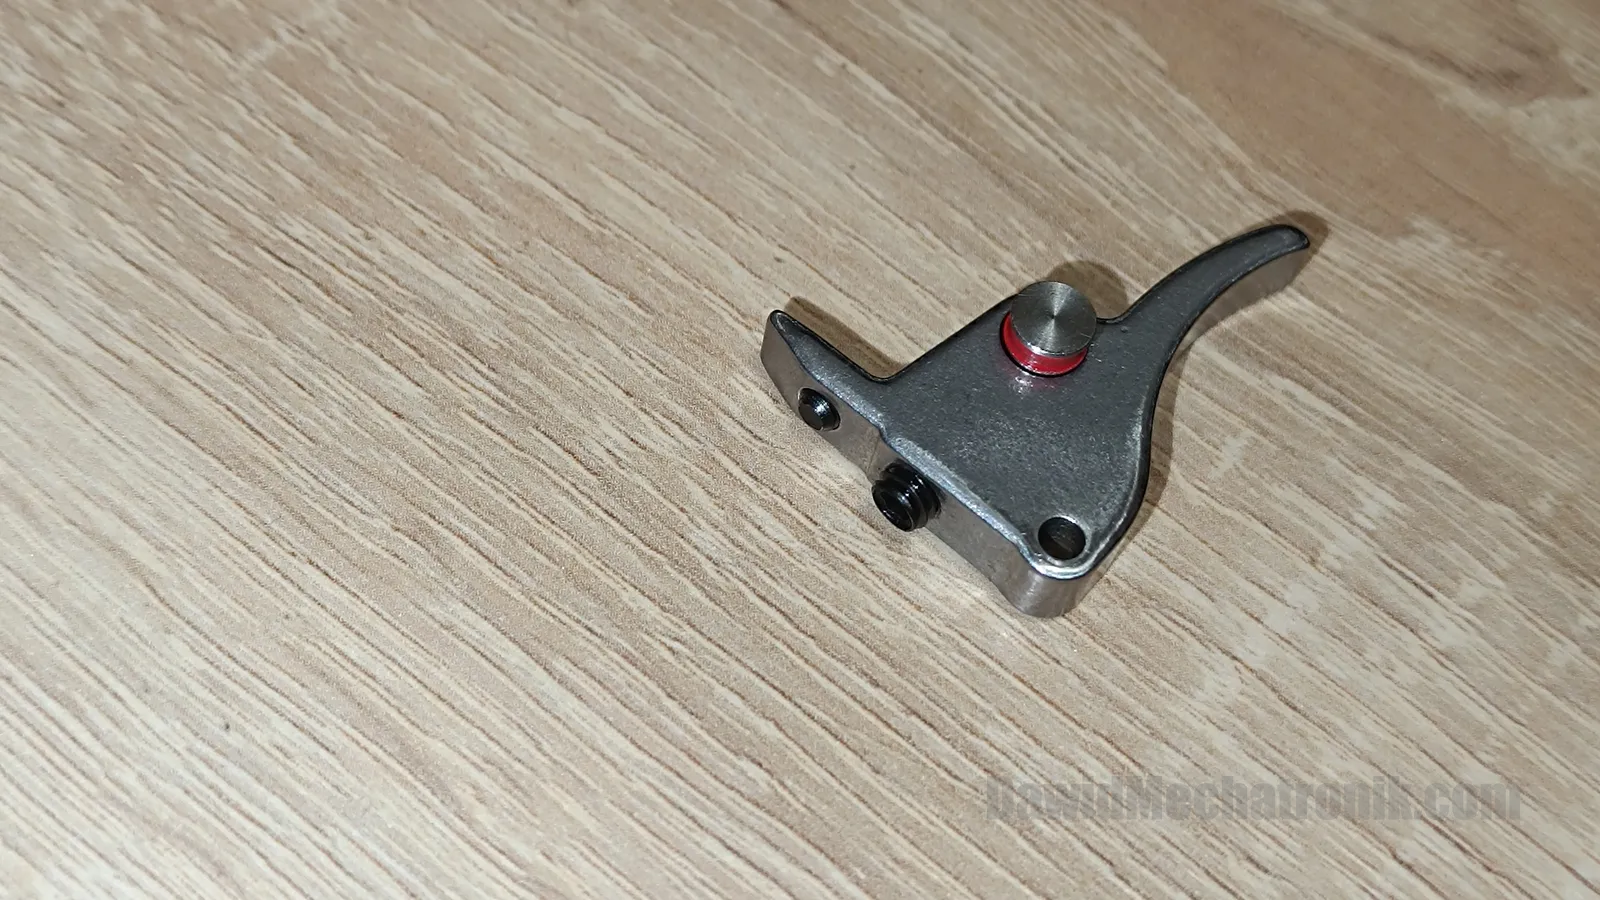
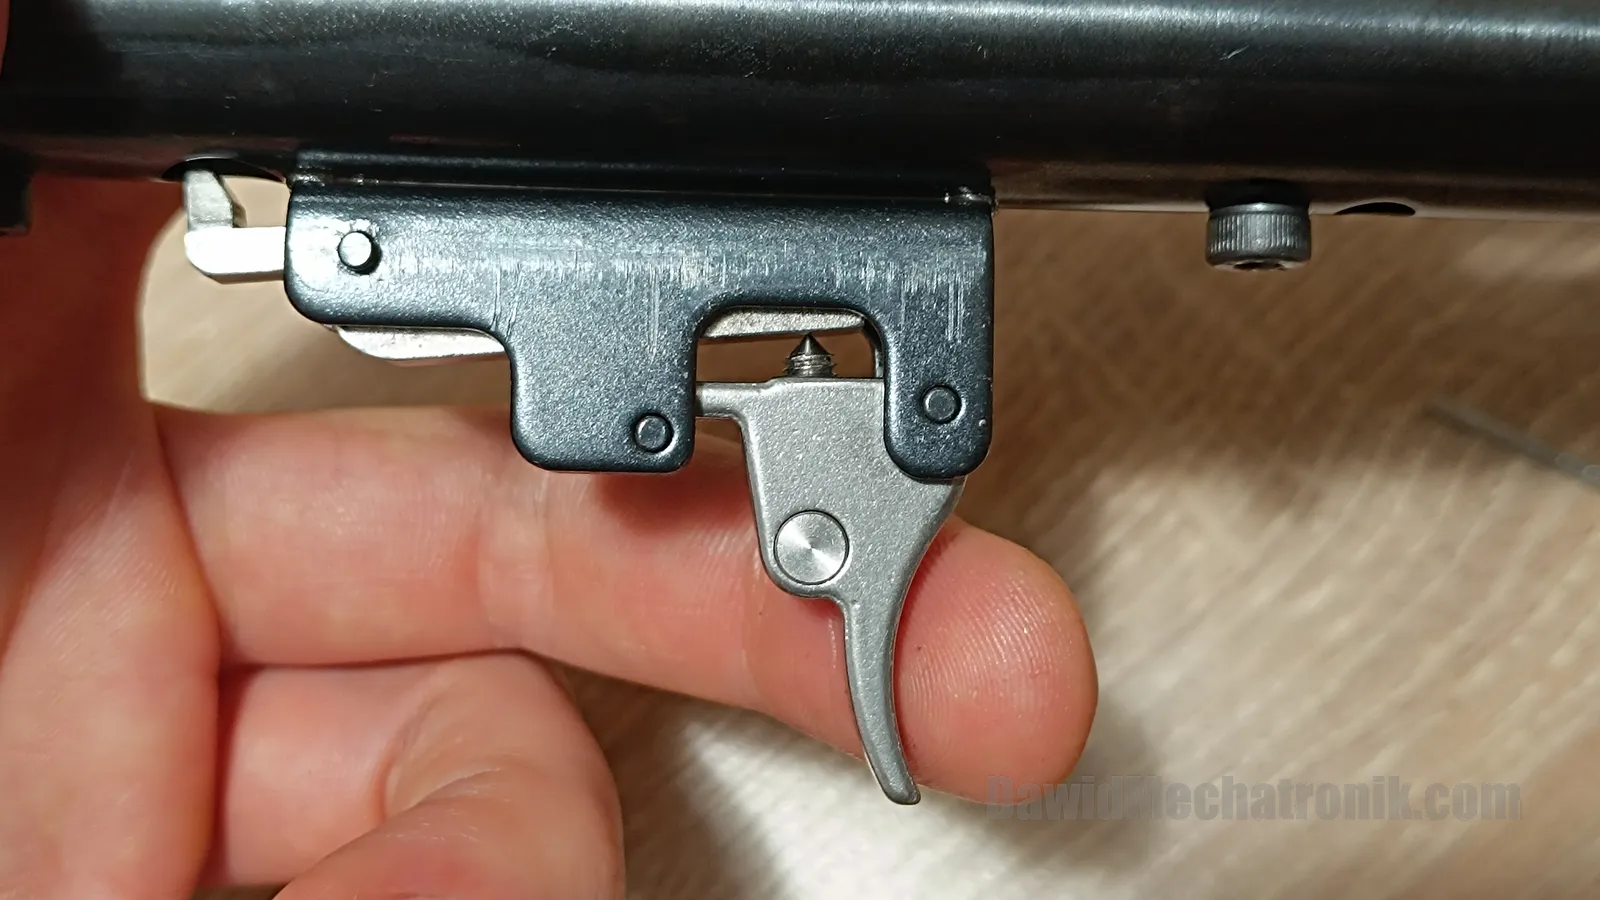
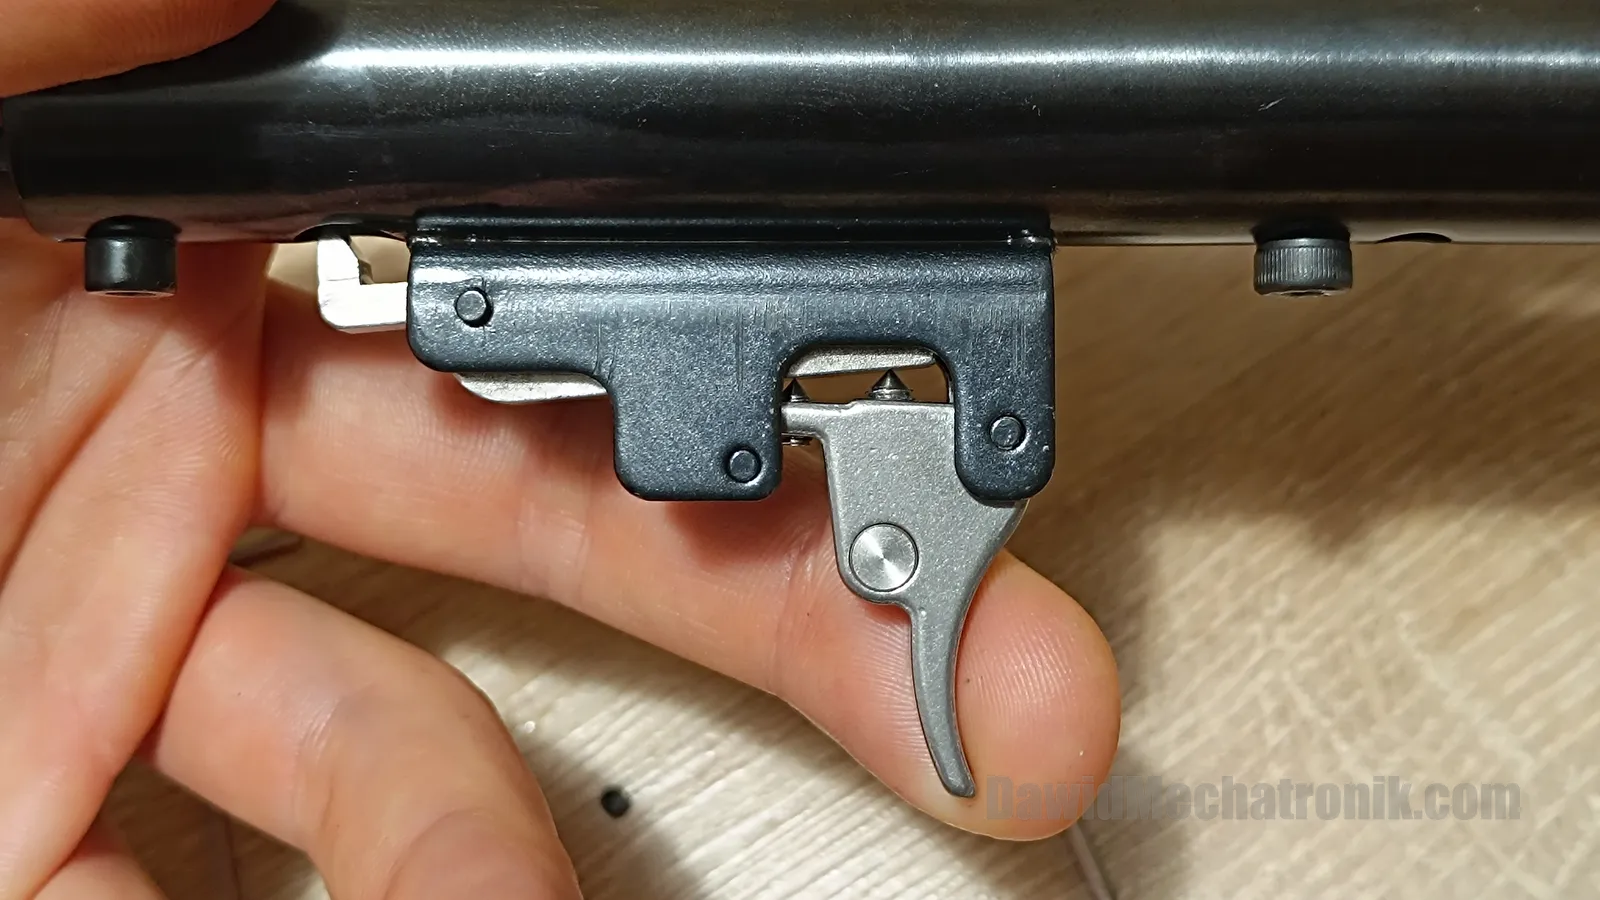
Let's see how factory trigger works. Those two screws are used to adjust first and second travel distance of the trigger. A bigger screw is used to adjust first travel distance. A smaller screw is used to adjust the second travel distance.
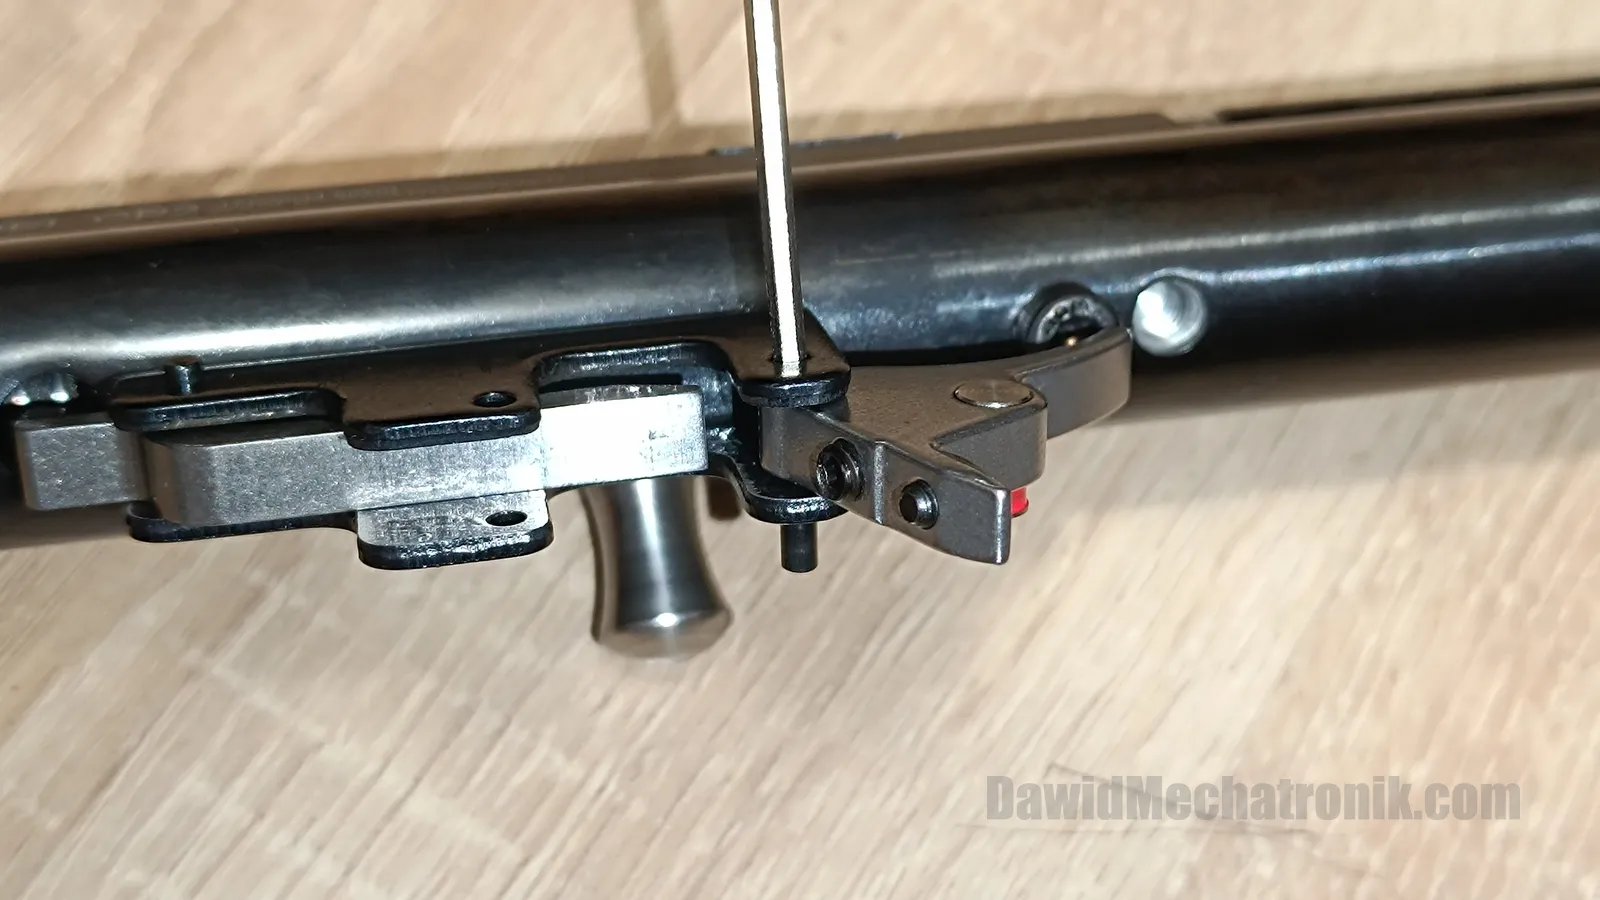
Trigger resting position (hammer catch rests on first travel adjuster screw):
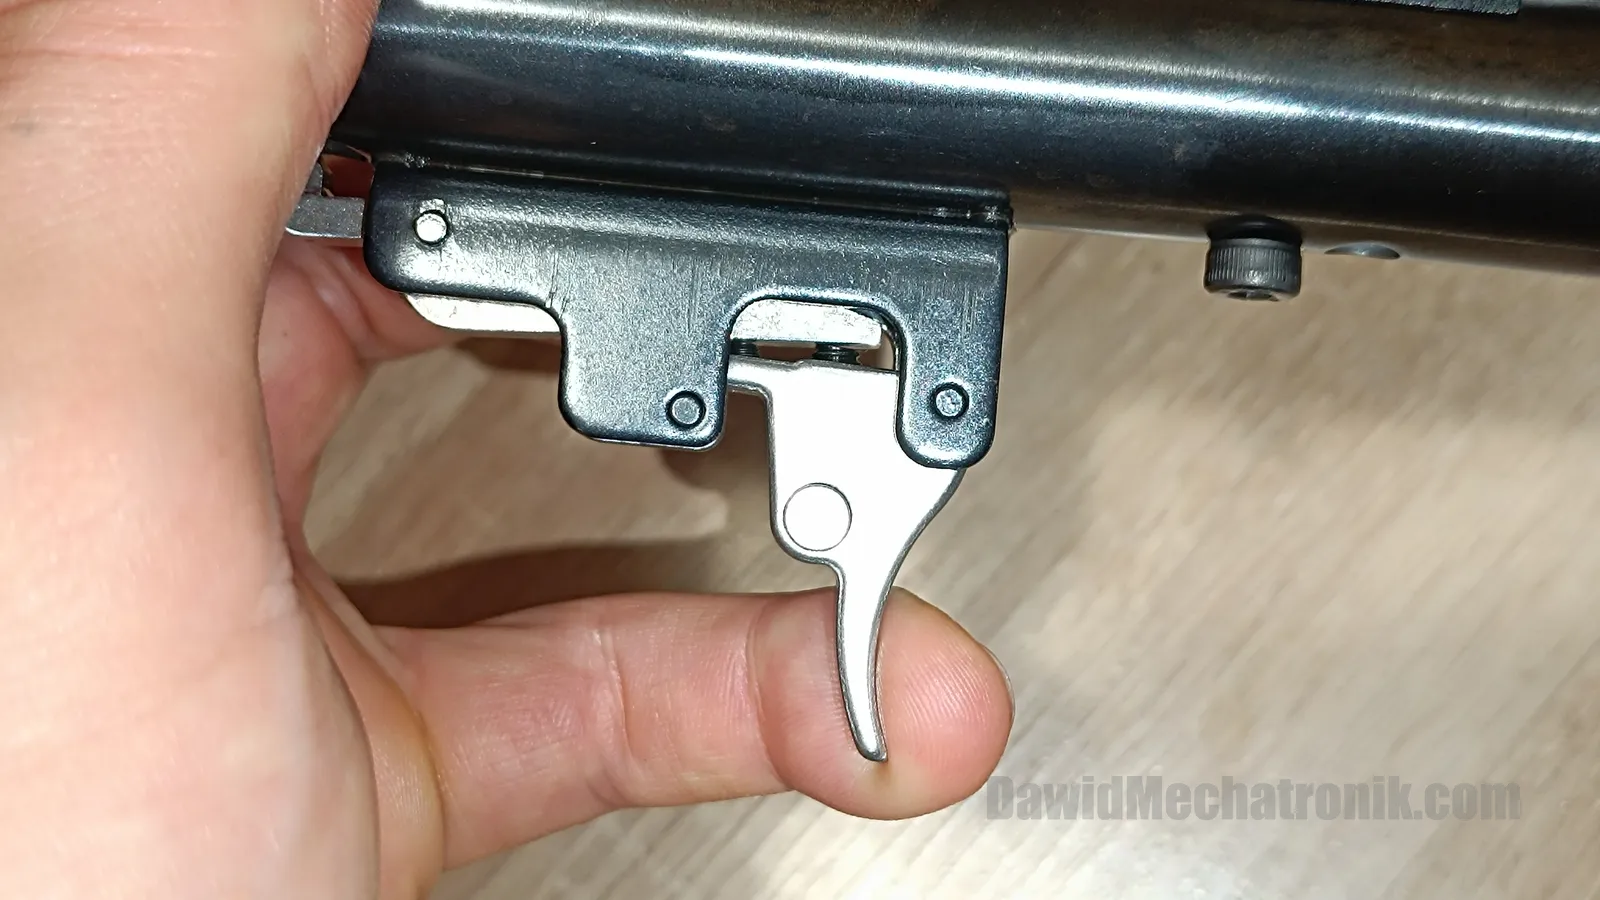
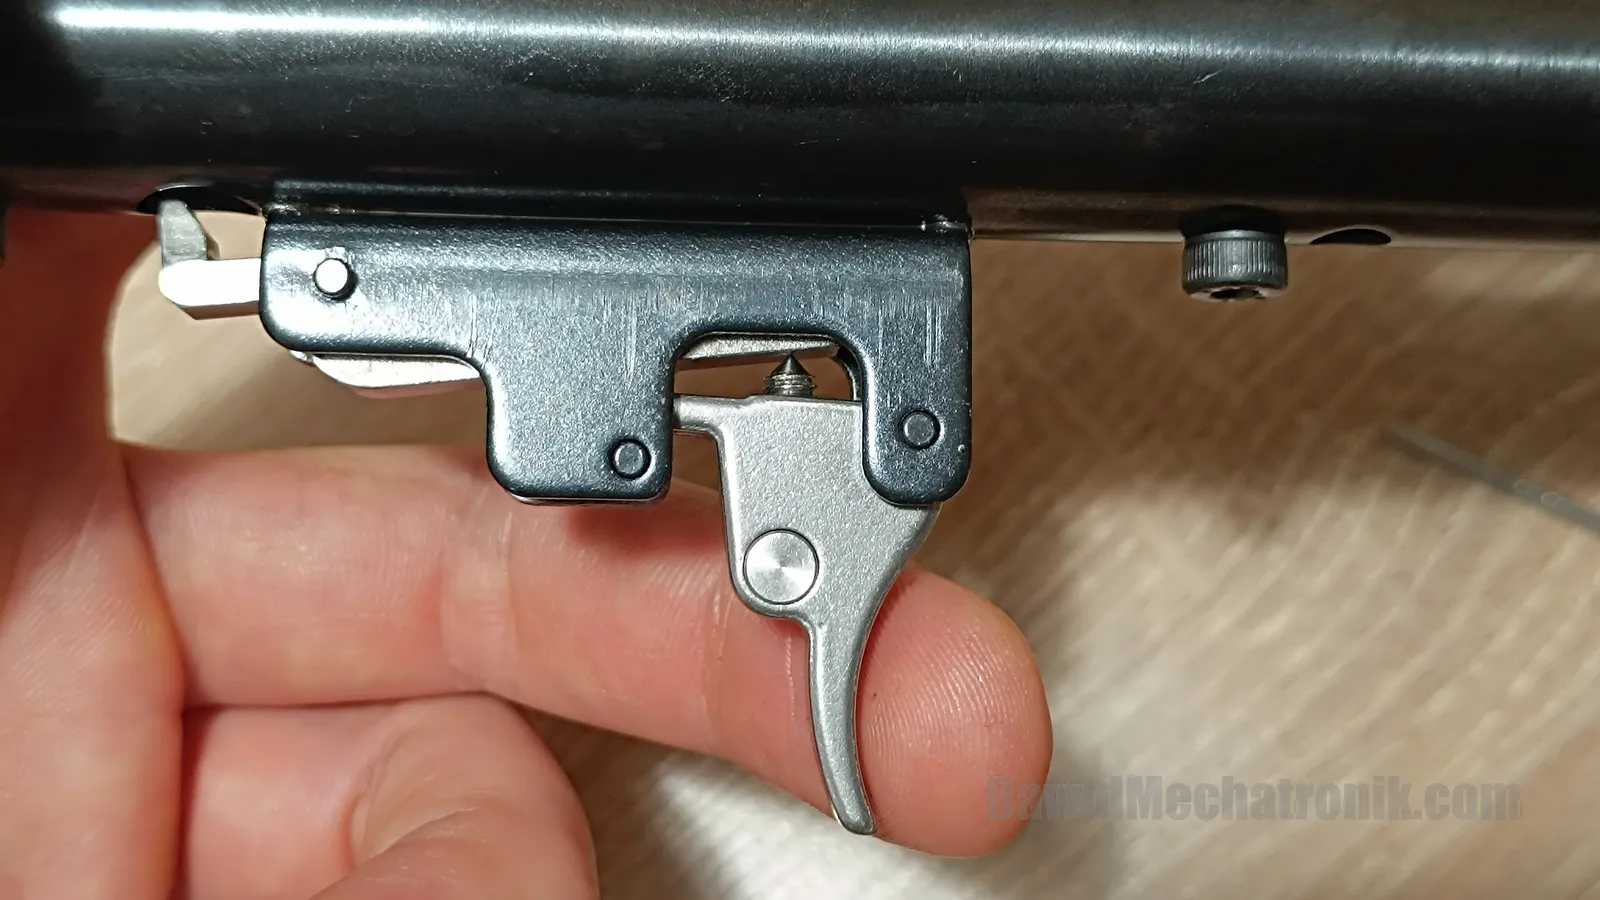
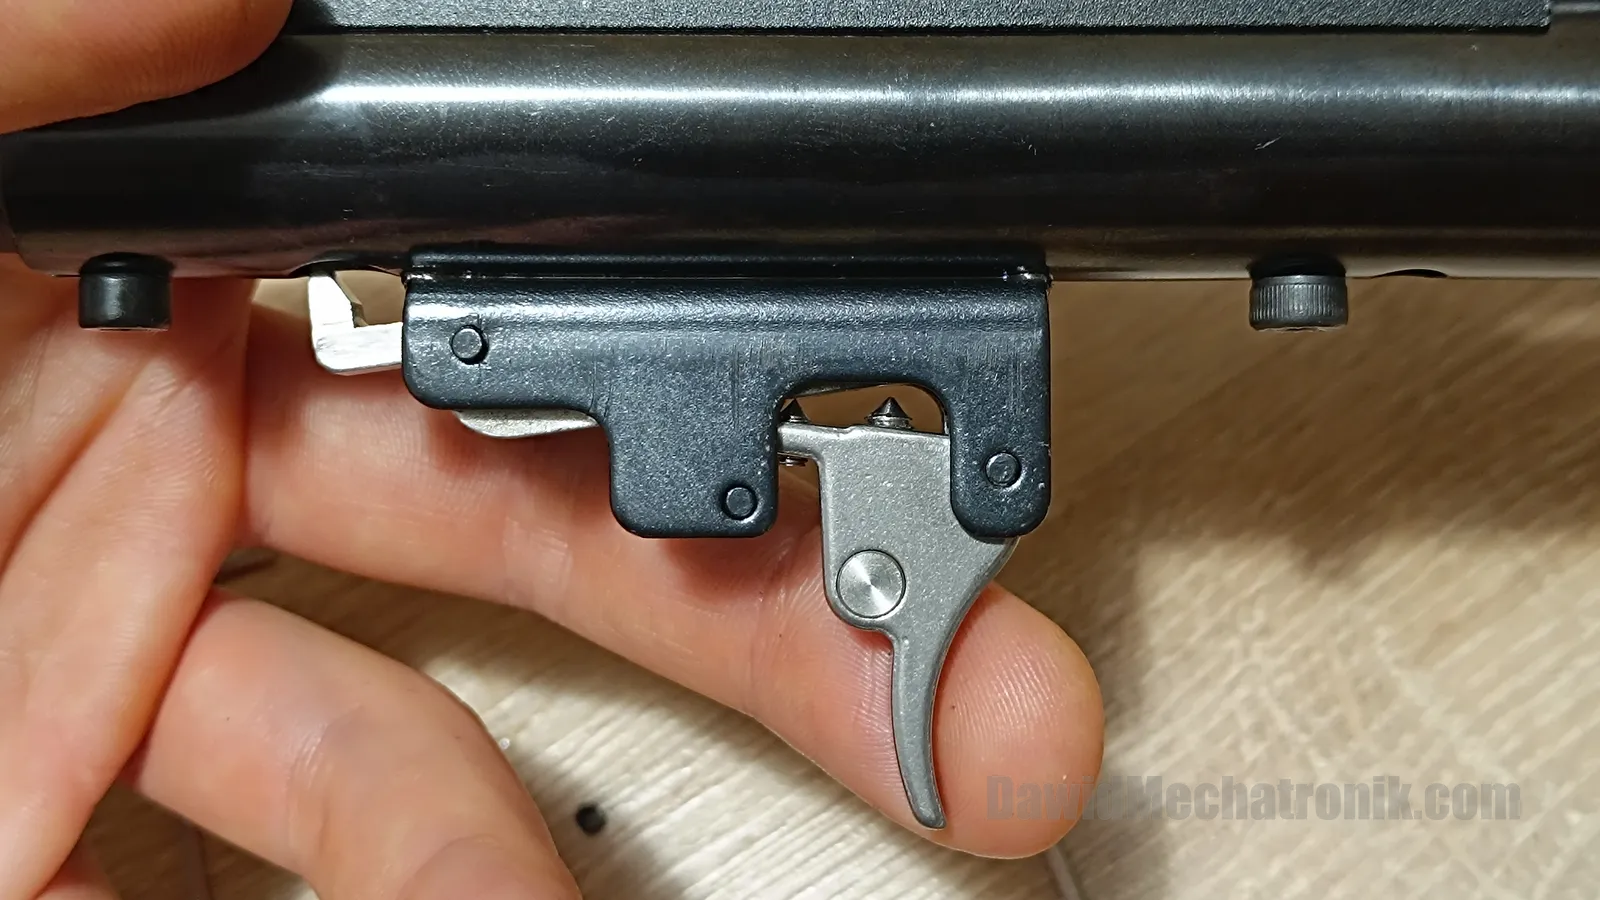
Trigger first travel end position (hammer catcher rests on second travel adjuster screw):
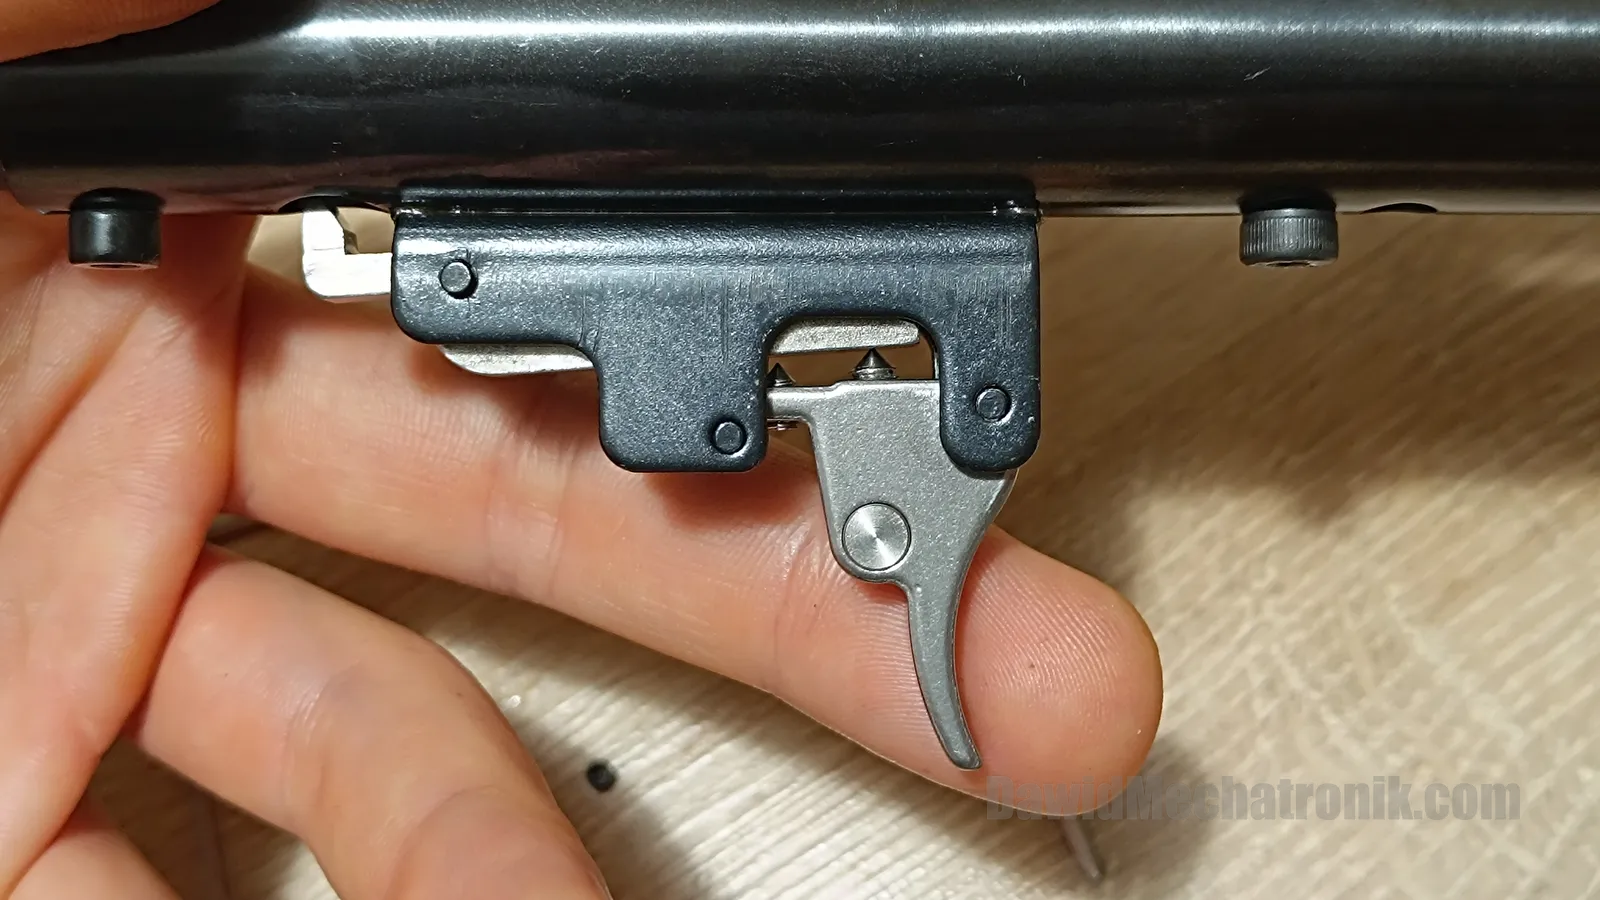
Trigger second travel end position (shoot):
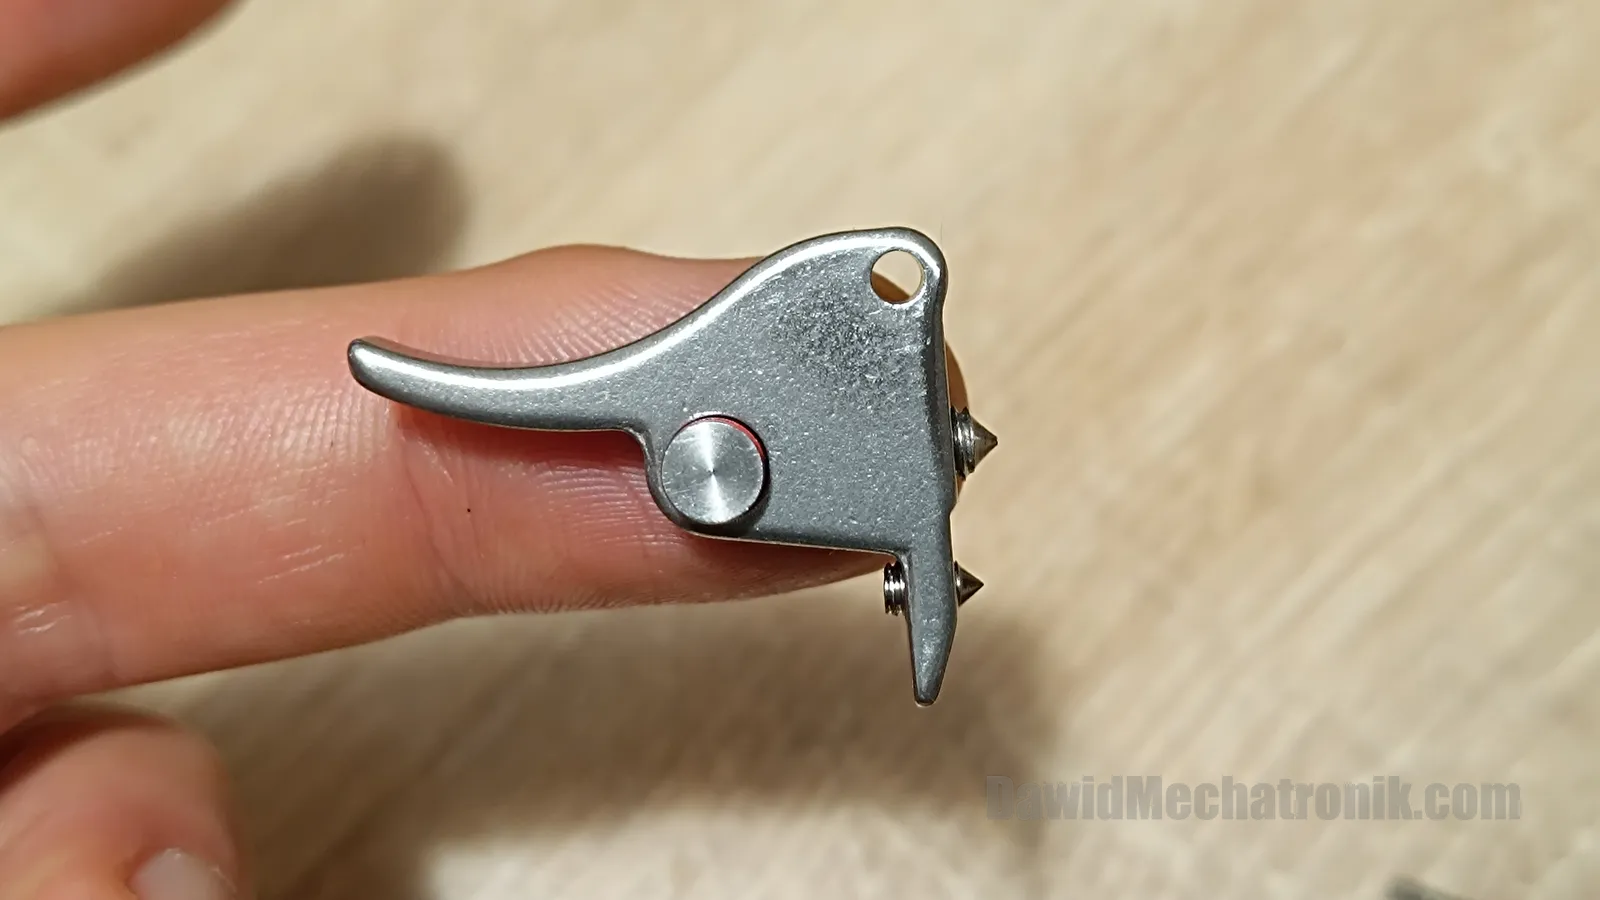
Trigger and hammer catcher dismounting
You need to push out pins holding parts in place.
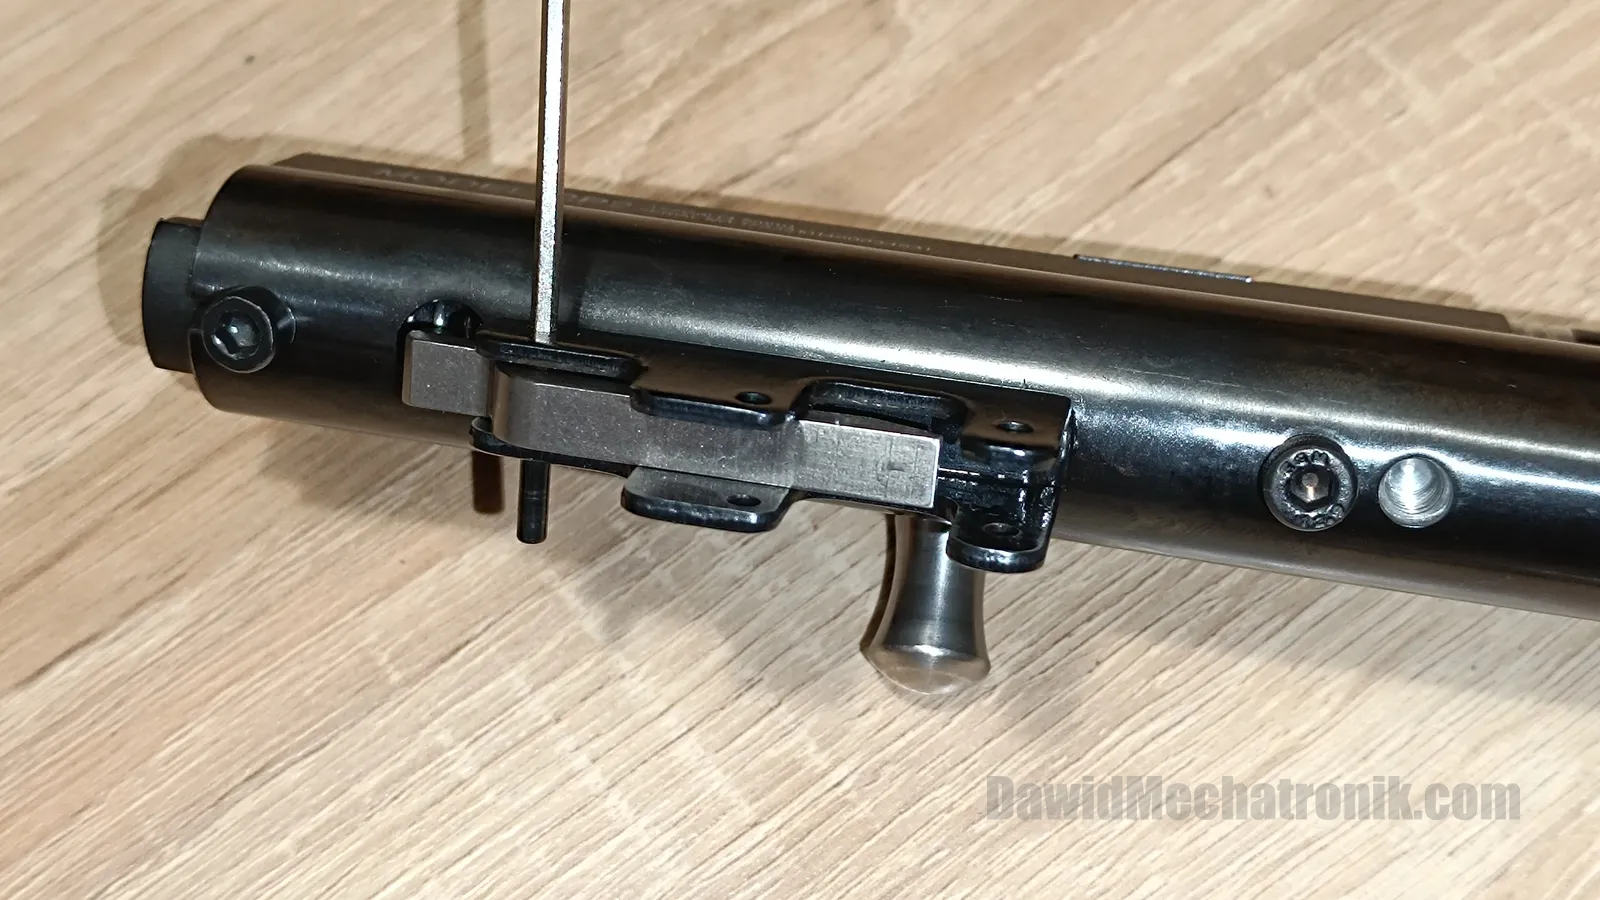
Trigger and hammer catcher (pin holding hammer catcher is a little longer!):
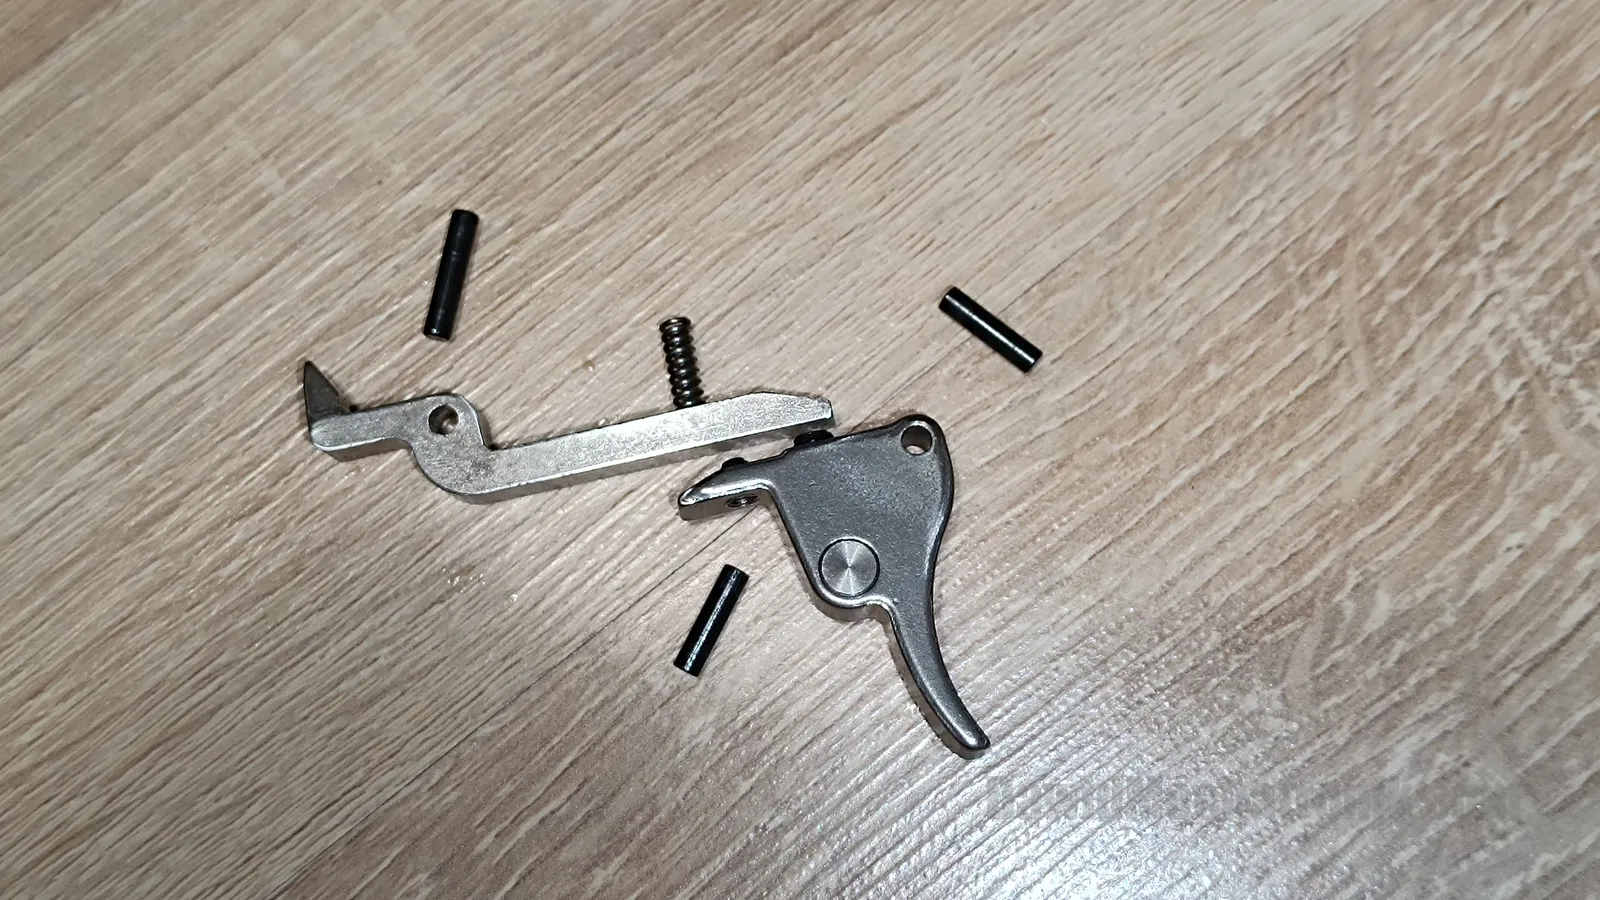
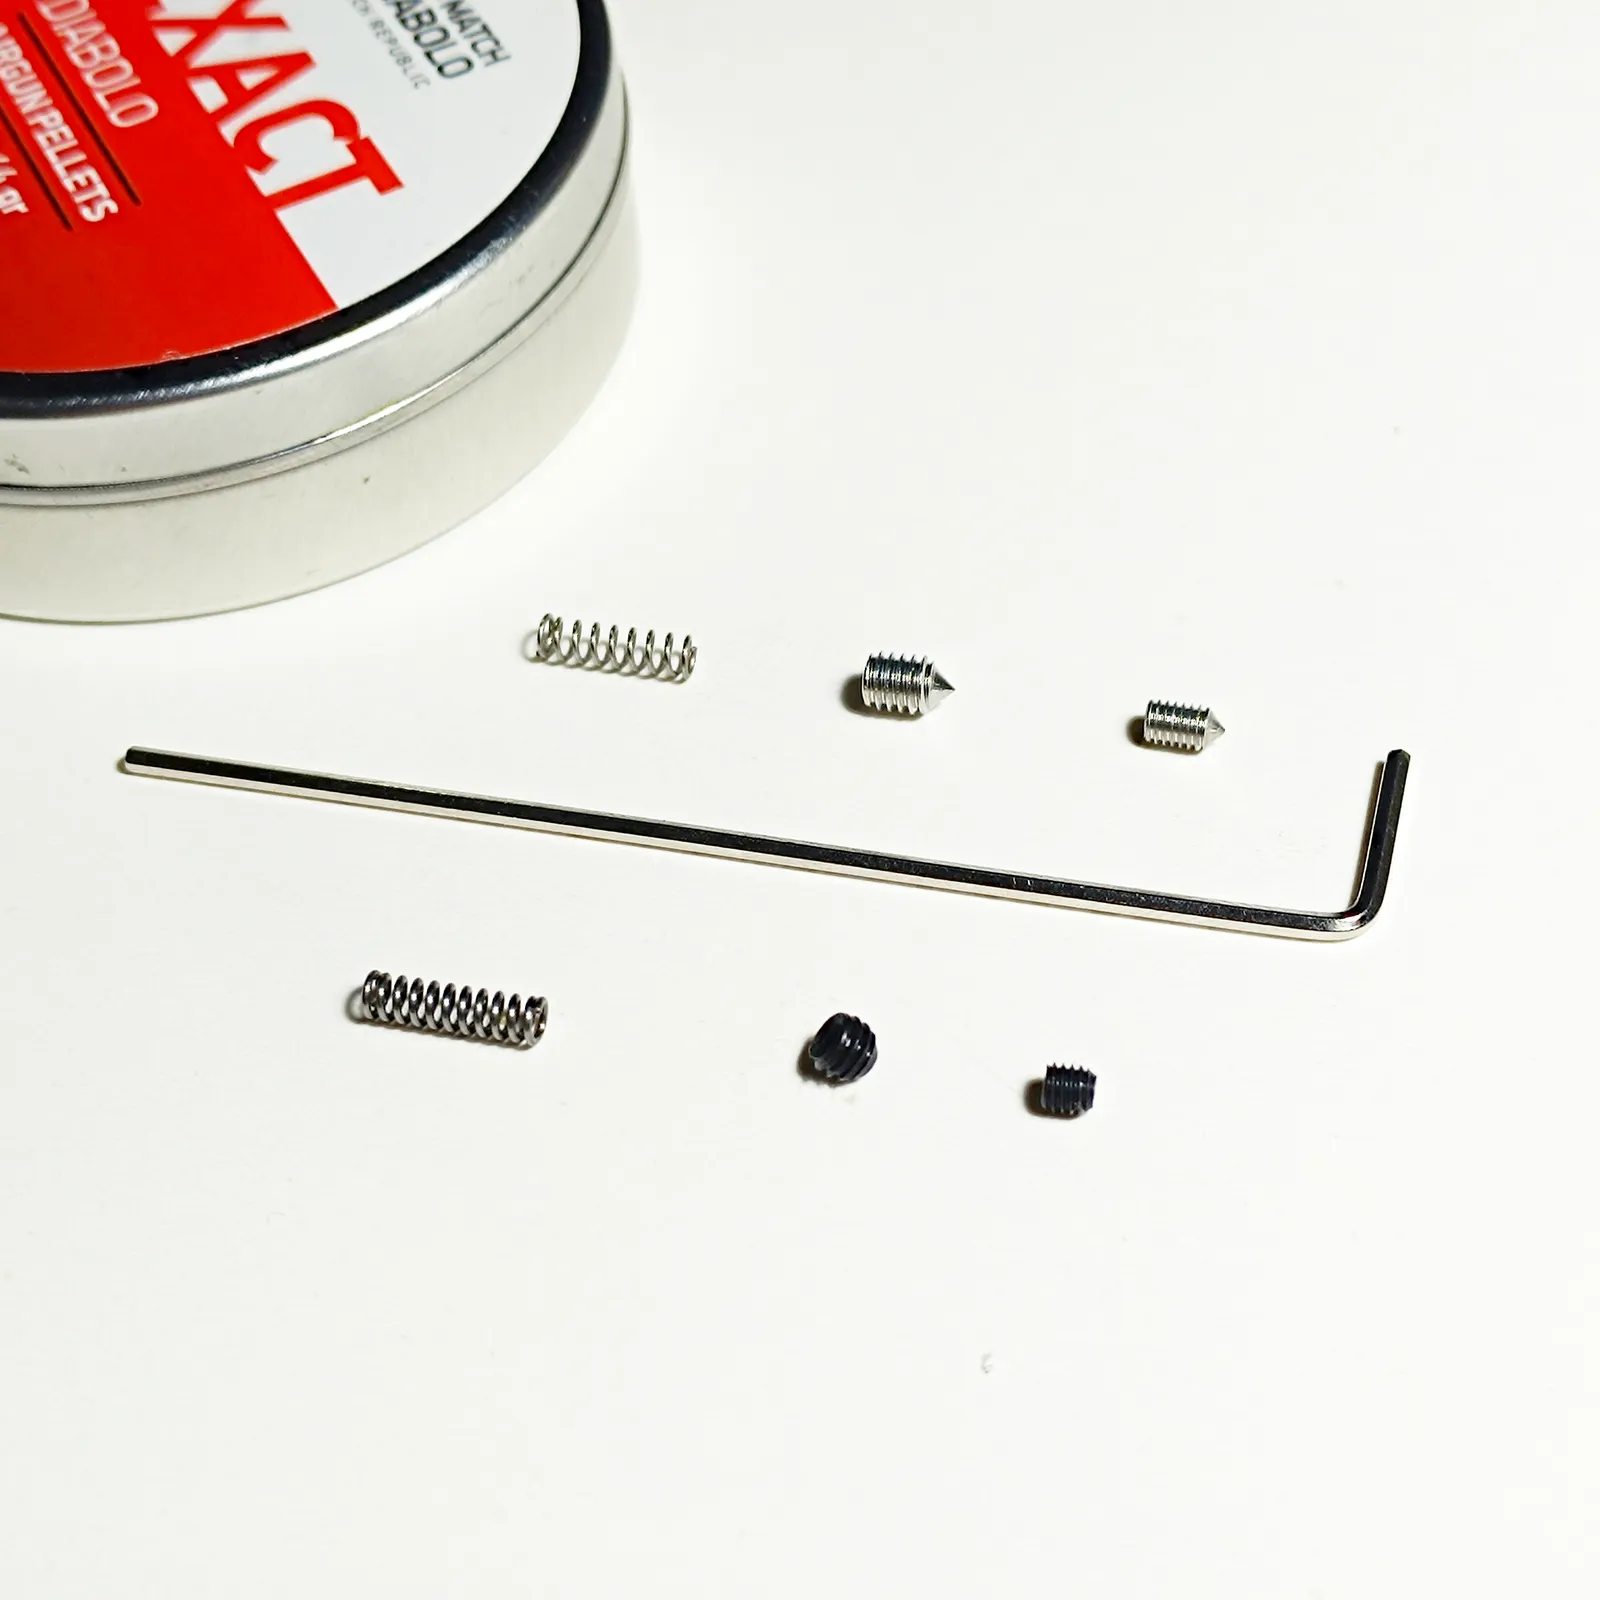
Trigger spring
You need to replace the trigger return spring.
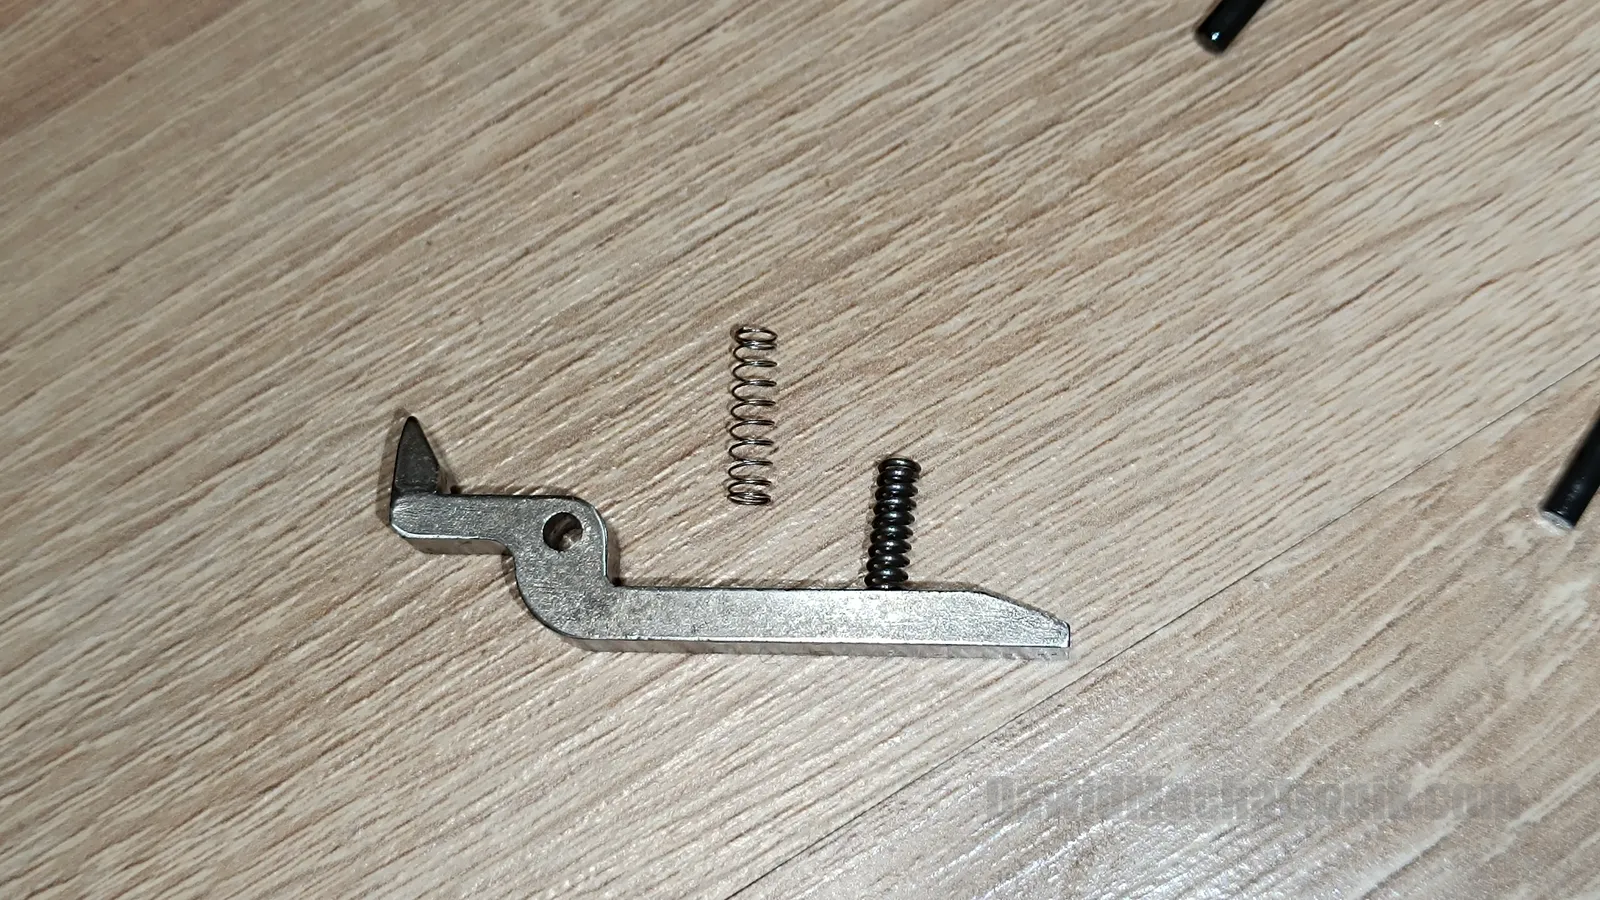
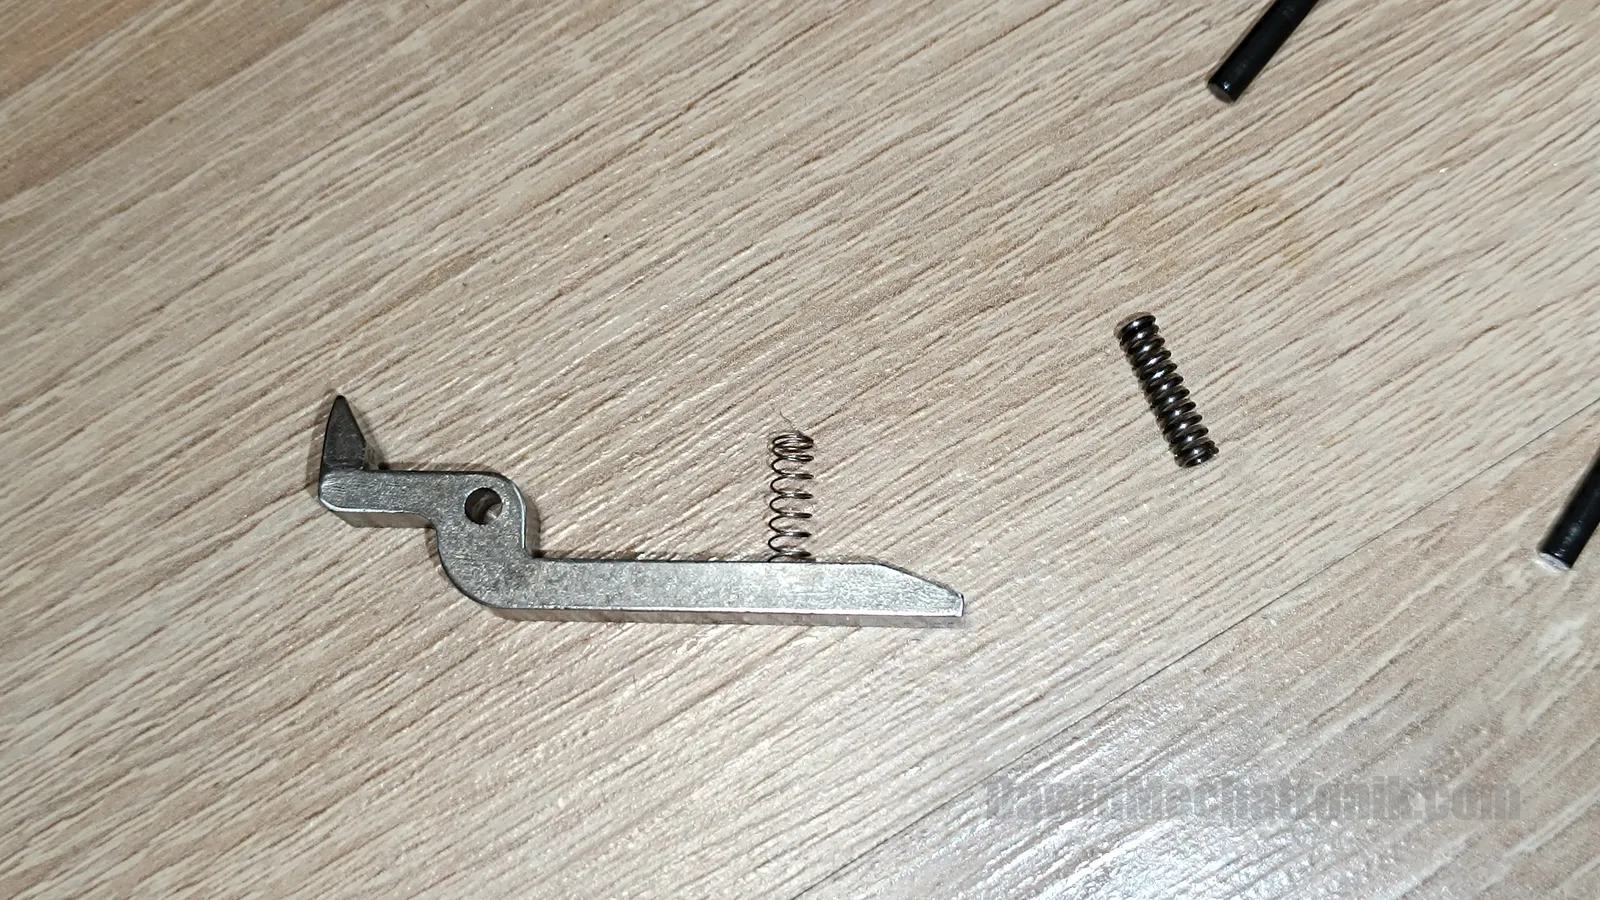
Now you need to install hammer catcher with new spring. Spring at both ends needs to be in right positioning holes, it is very important!


Trigger disassembly and assembly
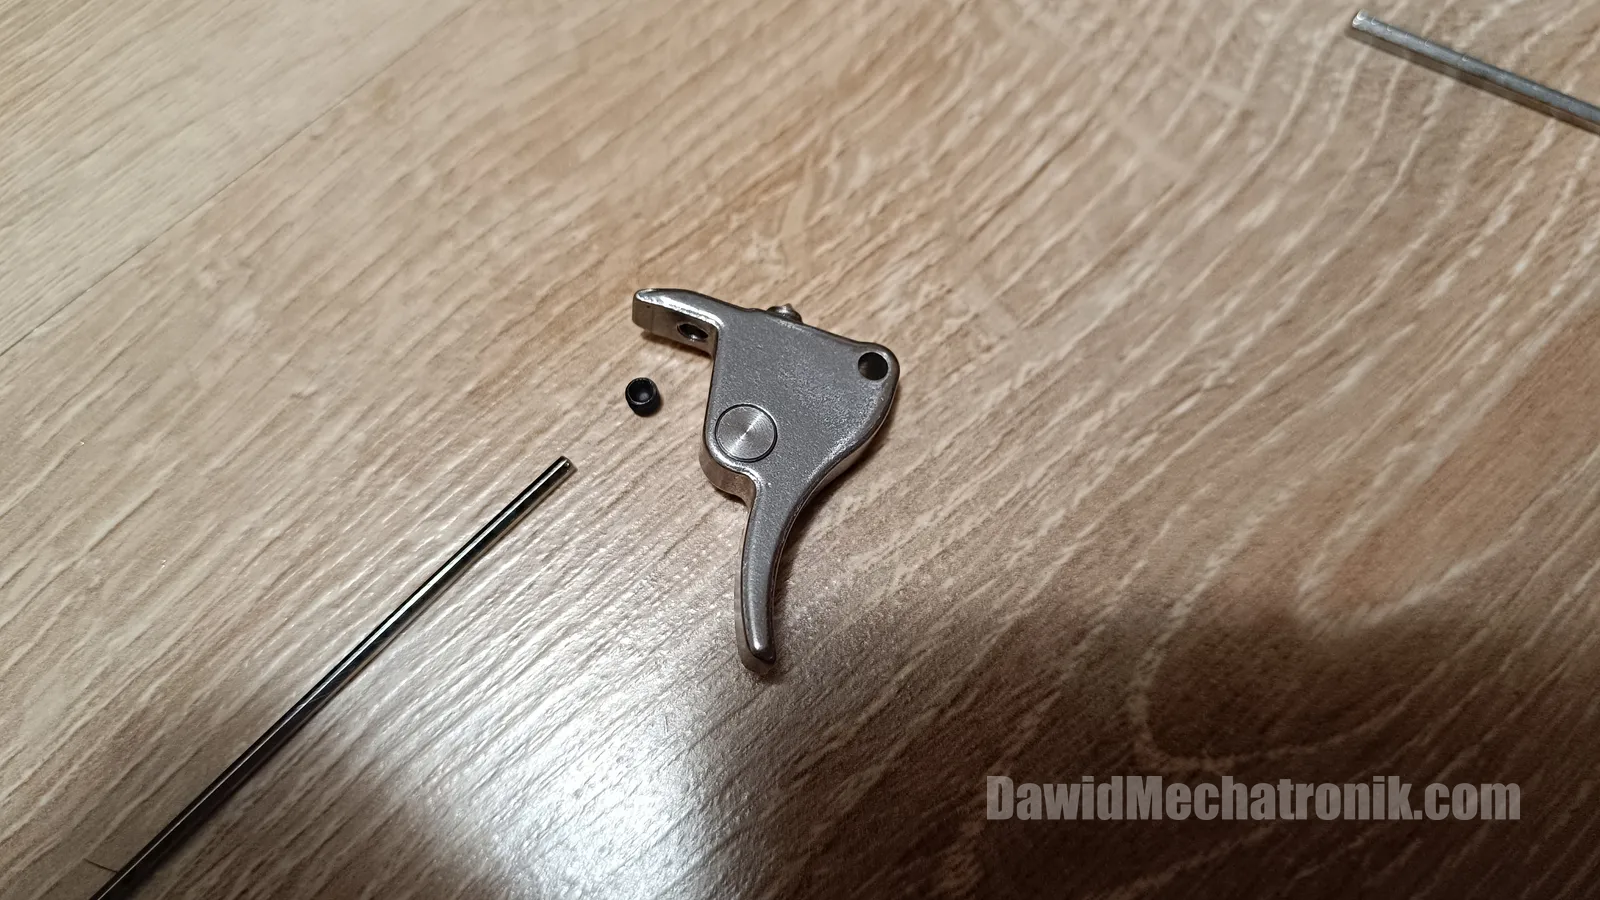
You need to replace adjustment bolts in the trigger. After removing second travel distance adjuster screw, some parts will fall out from trigger.
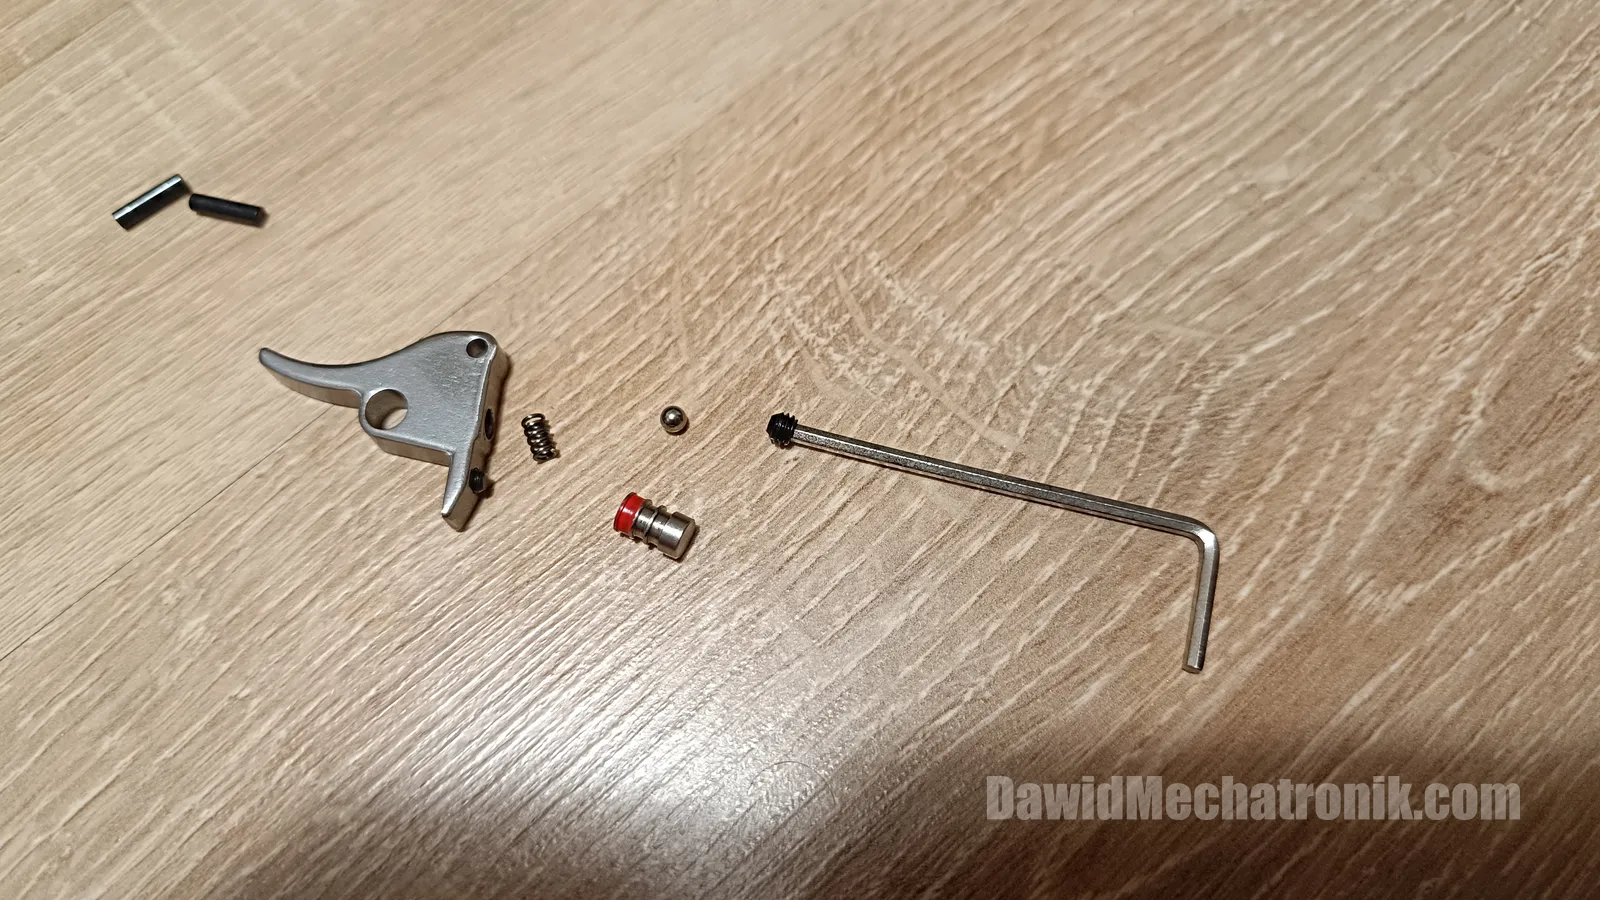
Here is the correct order of those parts. Remember to put safety switch in correct direction!

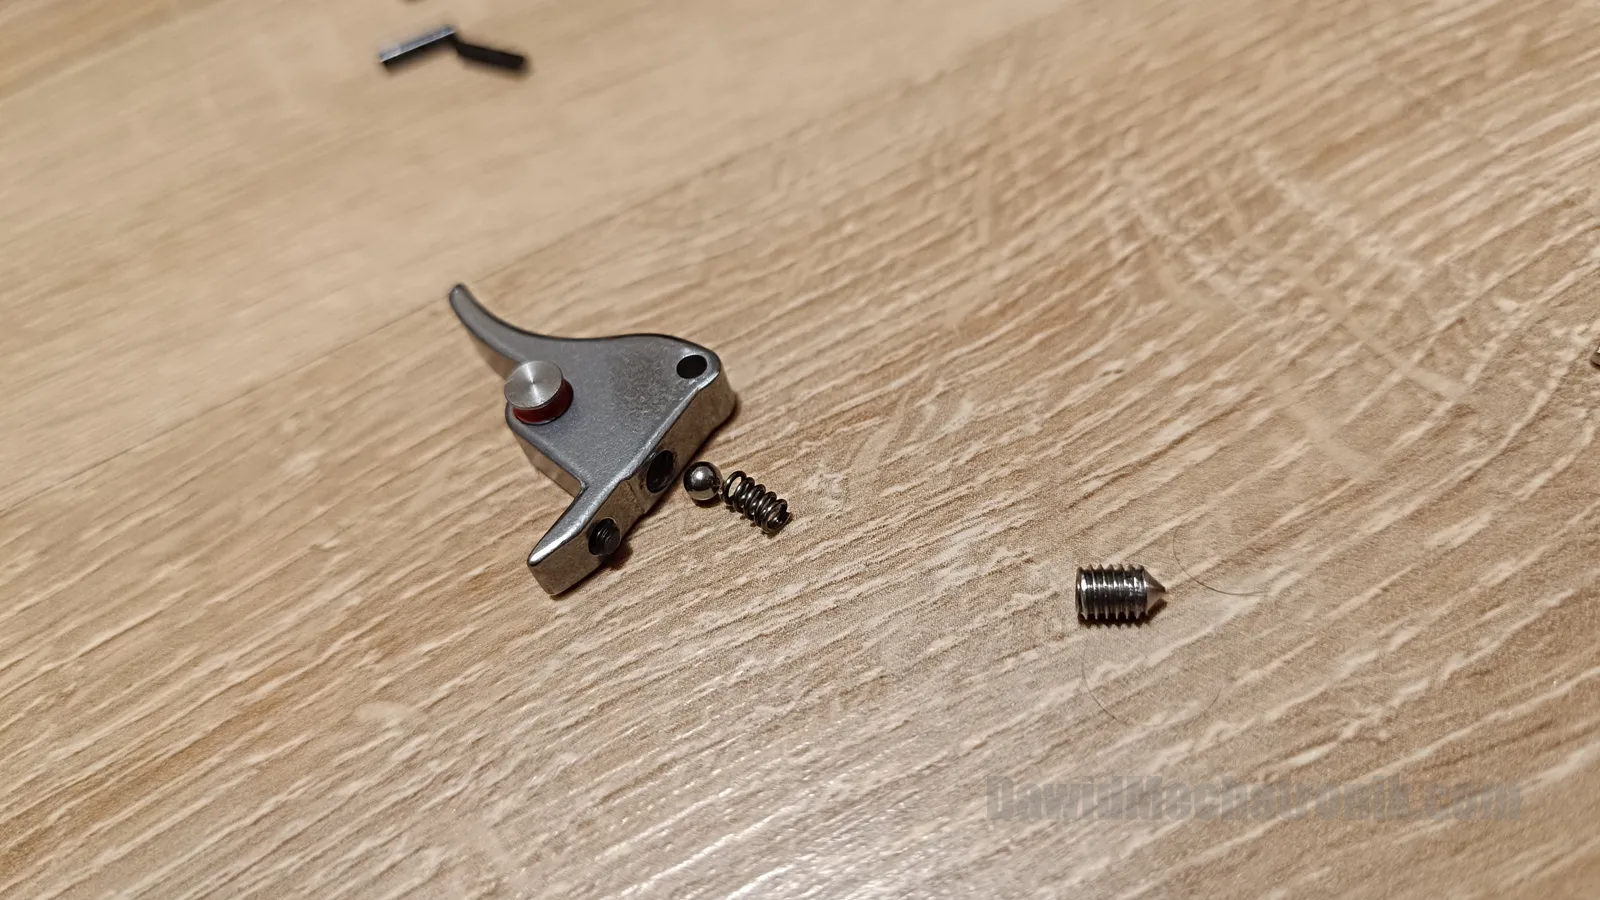
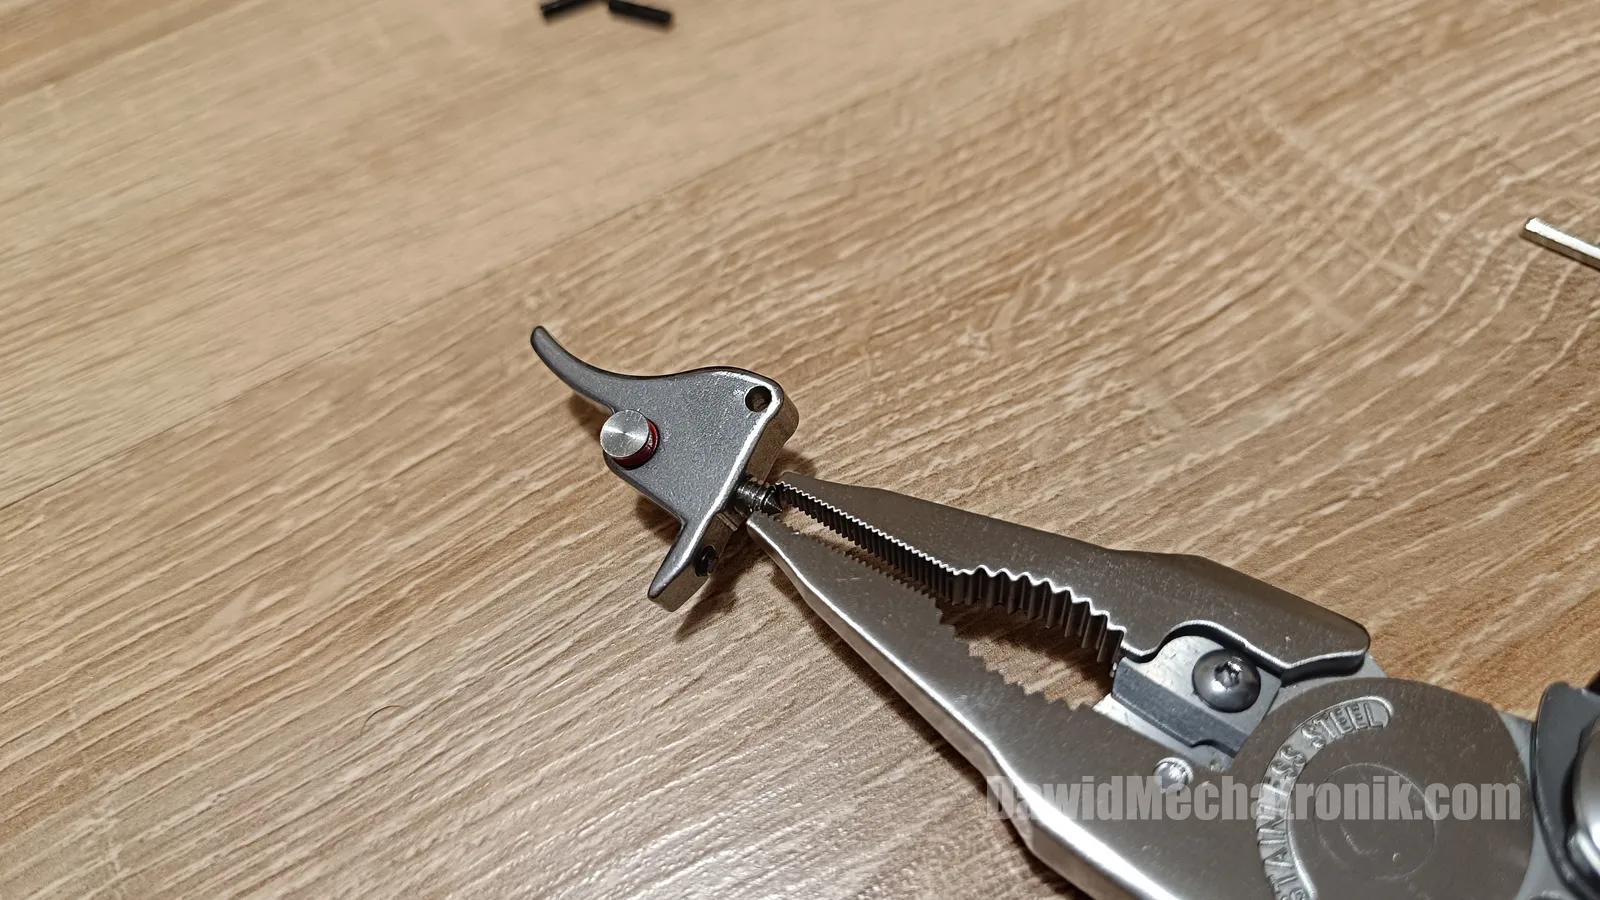
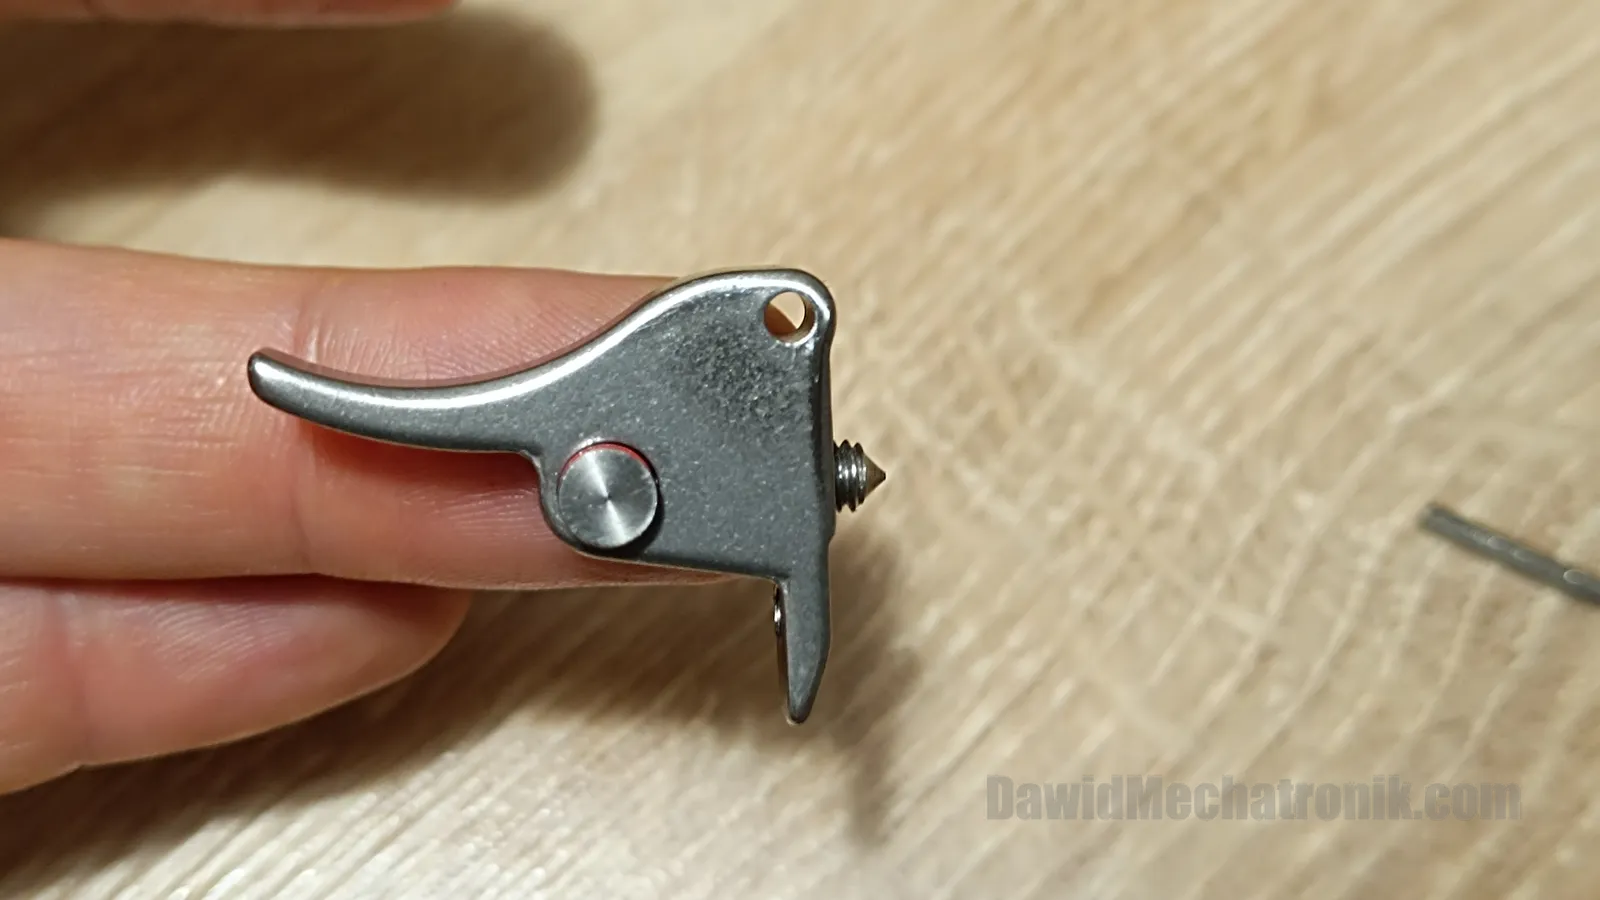
You need to screw this little screw upside down. You can use pliers.
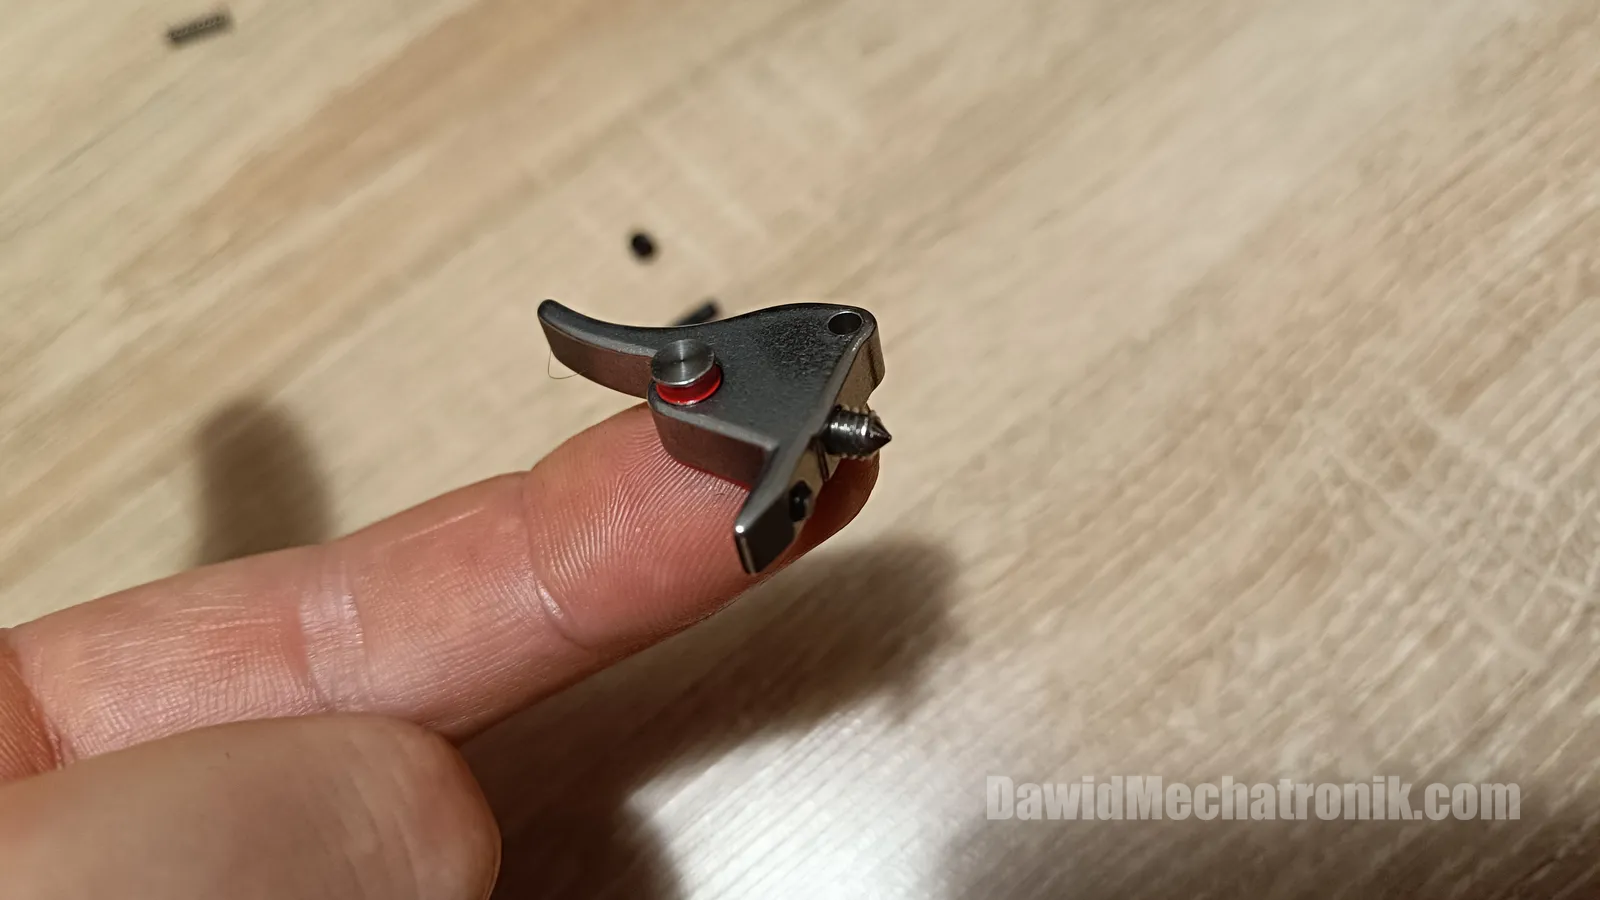
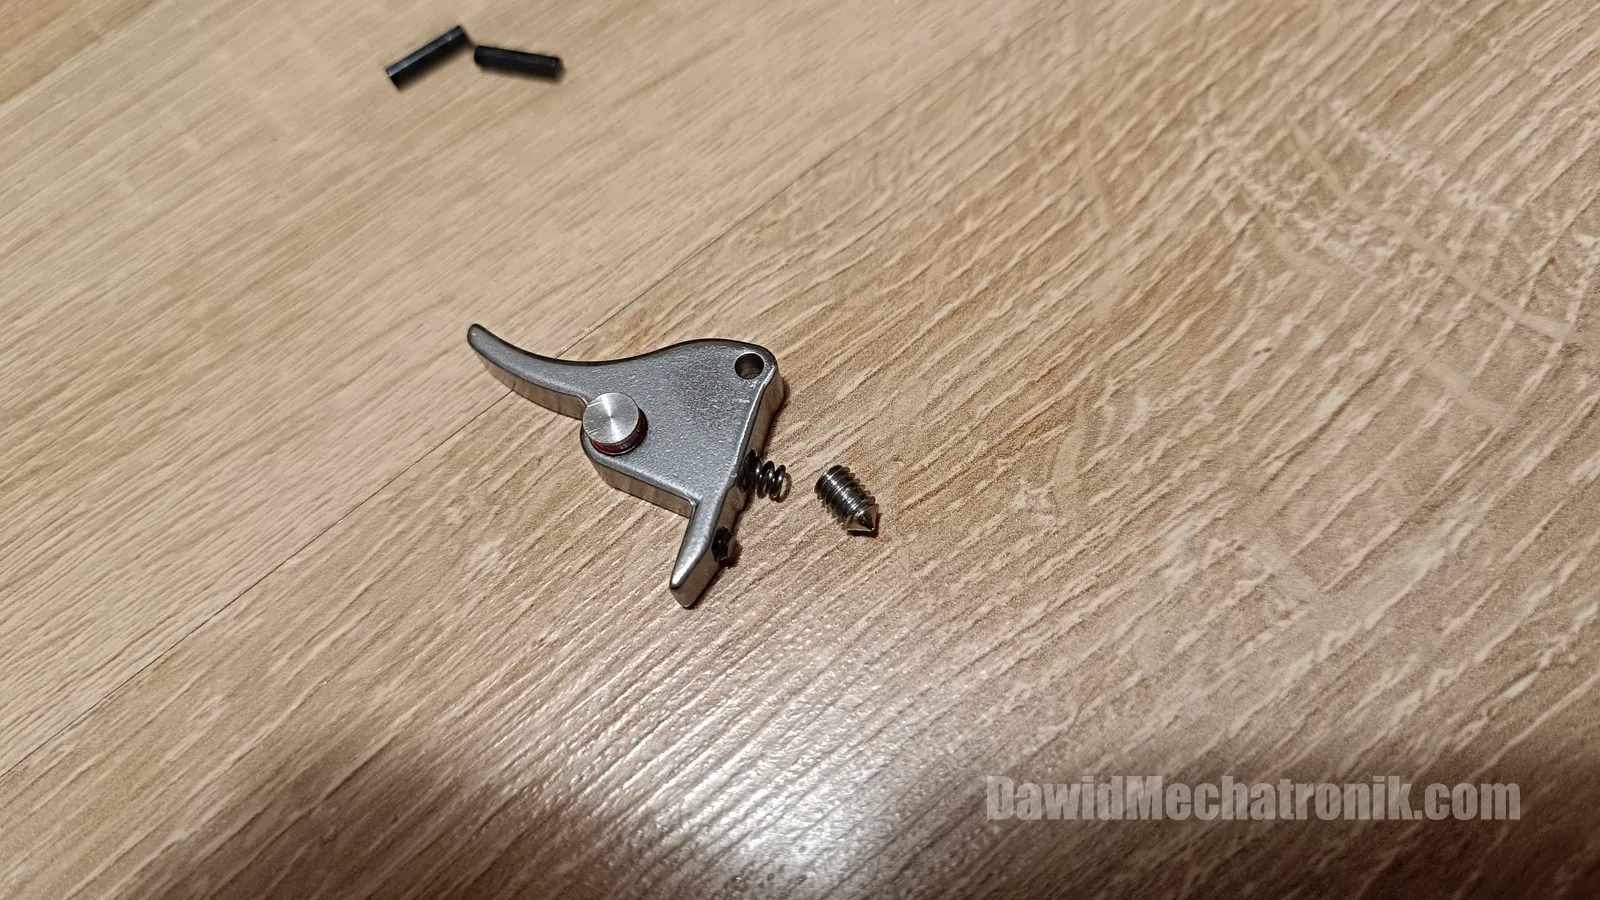
At the end, you need to remove the second travel distance adjuster screw.
Trigger one stage or two stage?
Now you need to decide which type of trigger you want to use. I think one stage is much better, because the first travel adjusting screw is "locked" by a spring. After setting trigger once, it stays in this setting. The second travel adjuster screw is without any locking mechanism (you can only add thread locking fluid). Without locking, this screw will change trigger behavior. This screw also likes to fall out.
One stage trigger (you should make screw to stick out about 2,5mm):
Two stage trigger:
One stage trigger operation
Rest position:
After minimal trigger pull, the hammer is free and air rifle shoots. Travel distance depends on length of adjuster screw.
Two stage trigger operation
Rest position:
First travel end position:
Second travel end position (shoot):
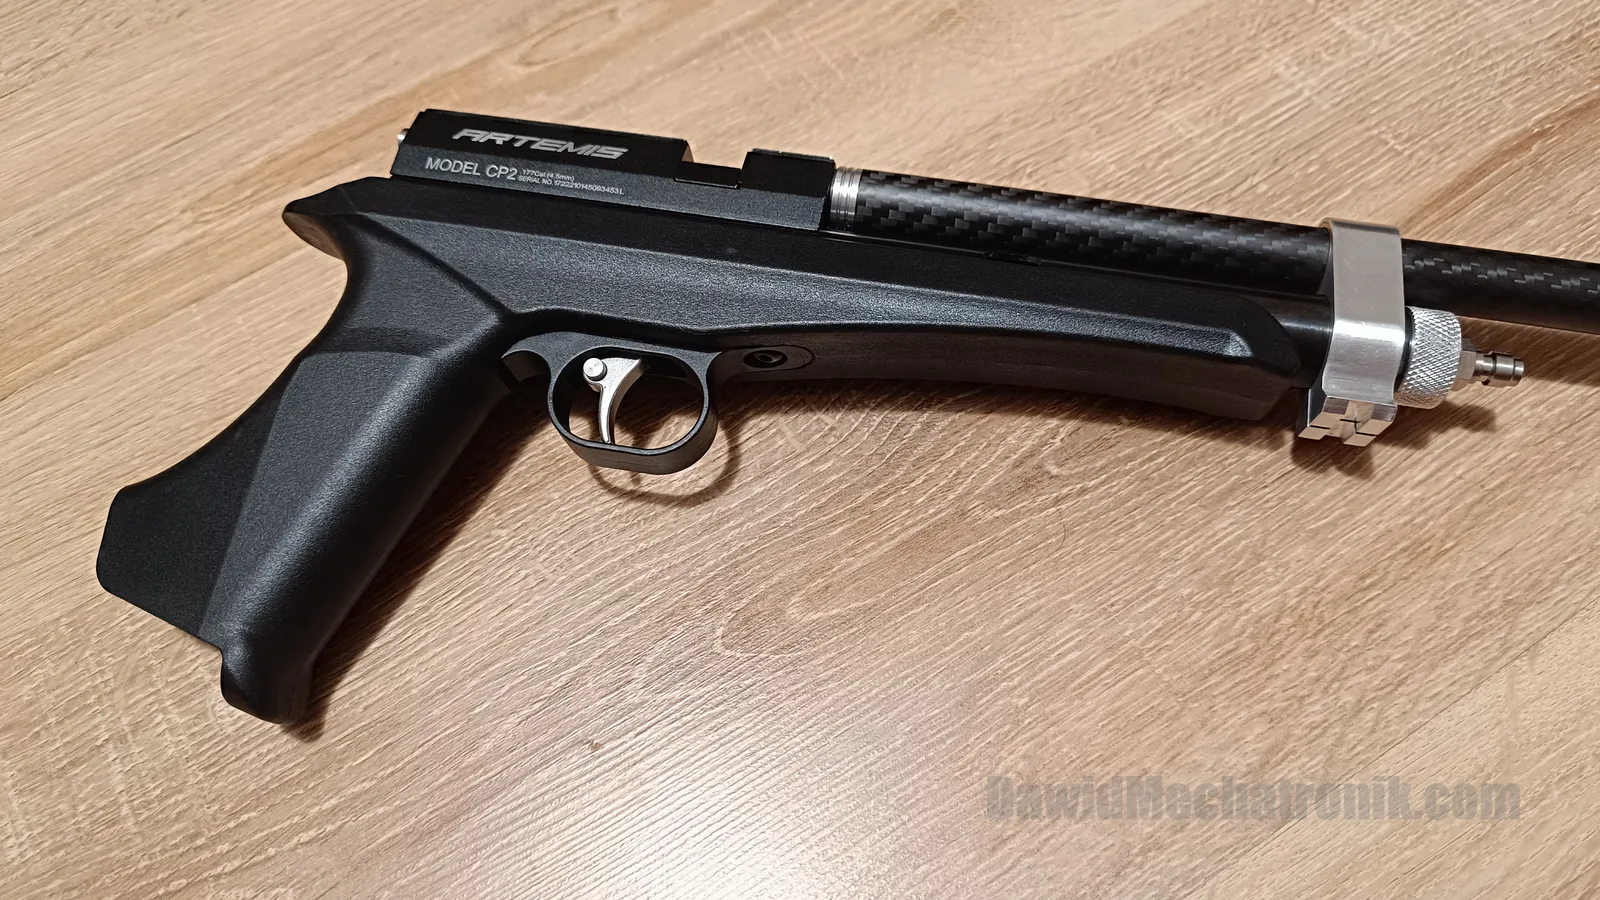
Assembly
Final step. You just need to mount back air rifle stock.